Showing posts with label sponge. Show all posts
4.16.2013
4.10.2013
Kleancolor Pink Gradient Nails
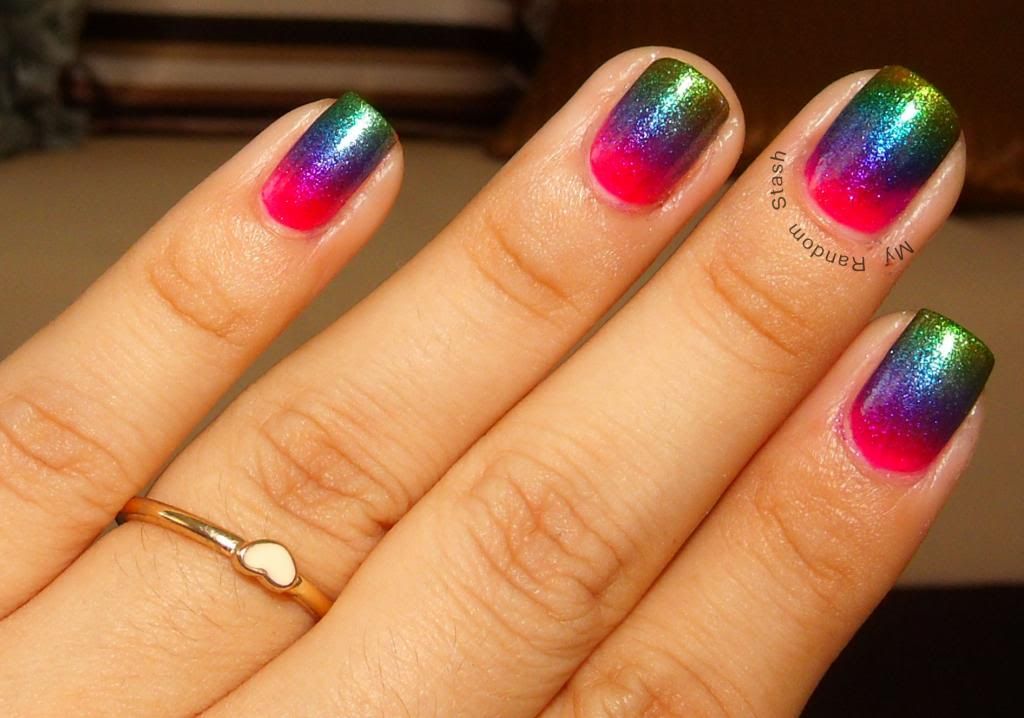
I feel like I'm so behind on nail art trends! :( Usually didn't try new techniques because some seem very difficult or impossible to get a decent result with my -frustrating- shaky hands. Recently I've become determined to be more adventurous and try whatever tutorial calls my attention.
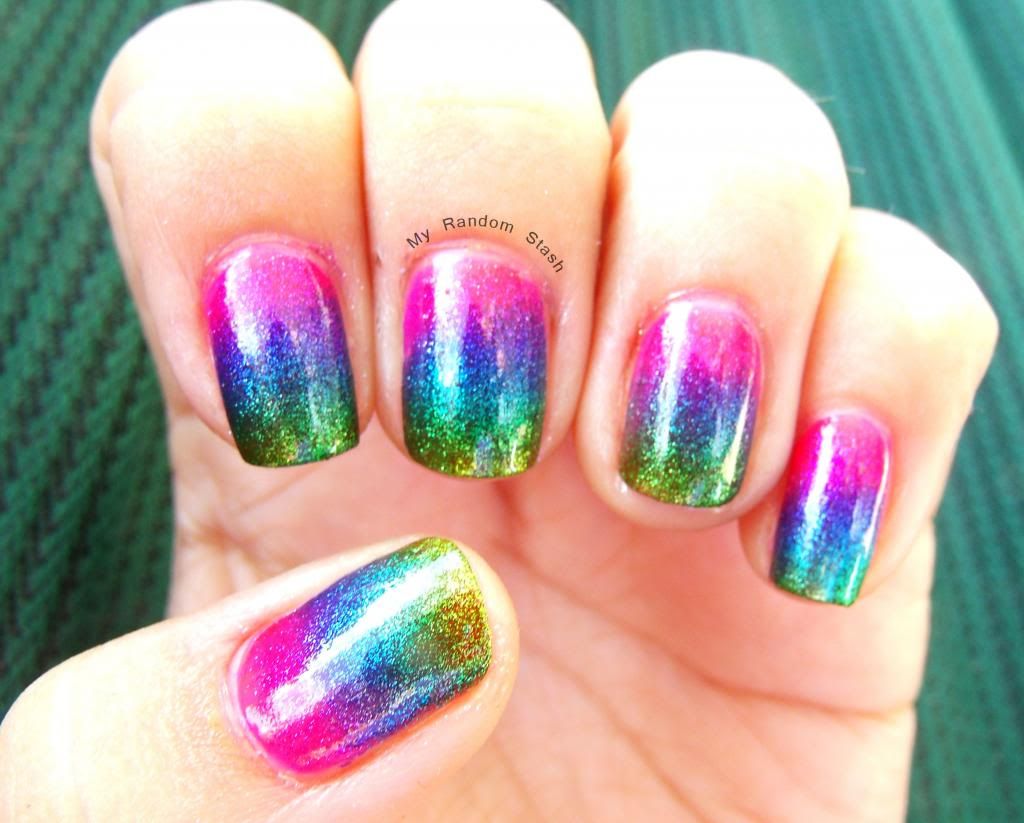
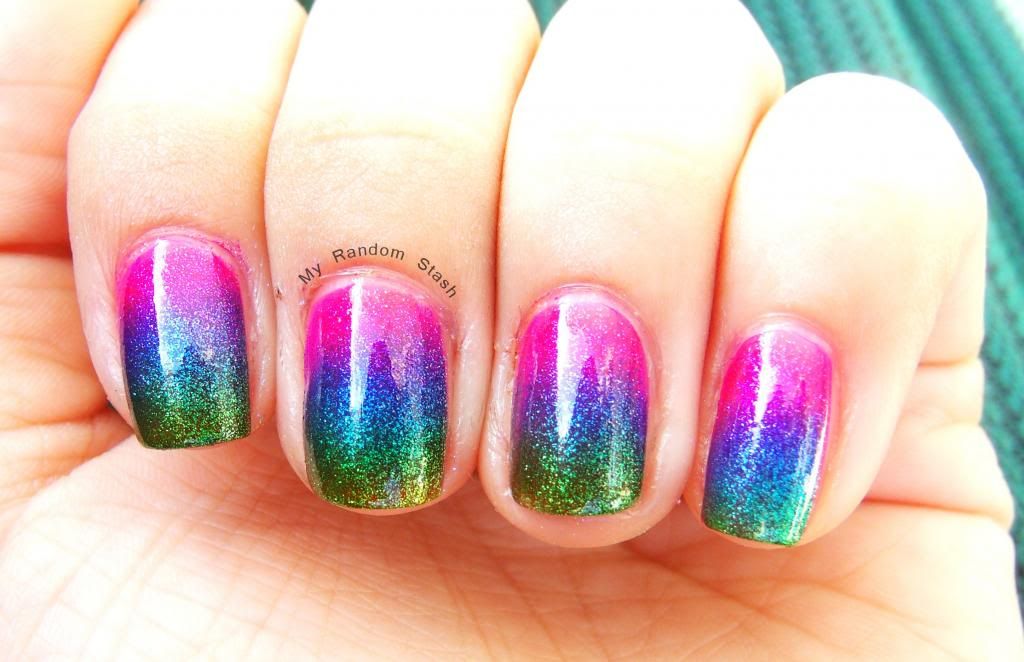
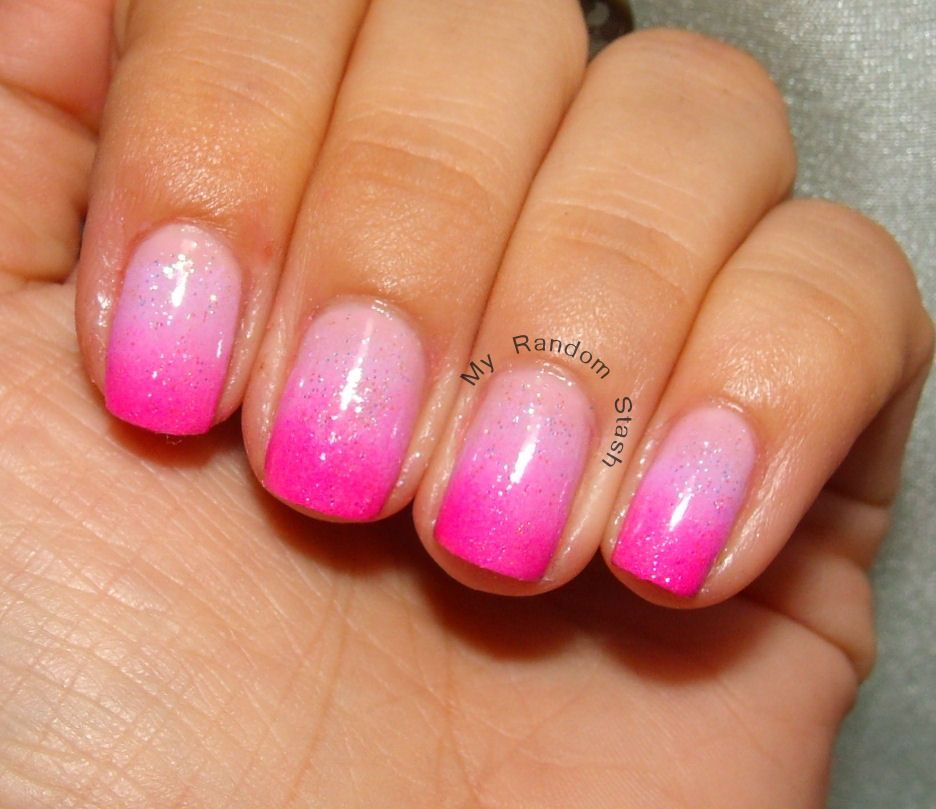
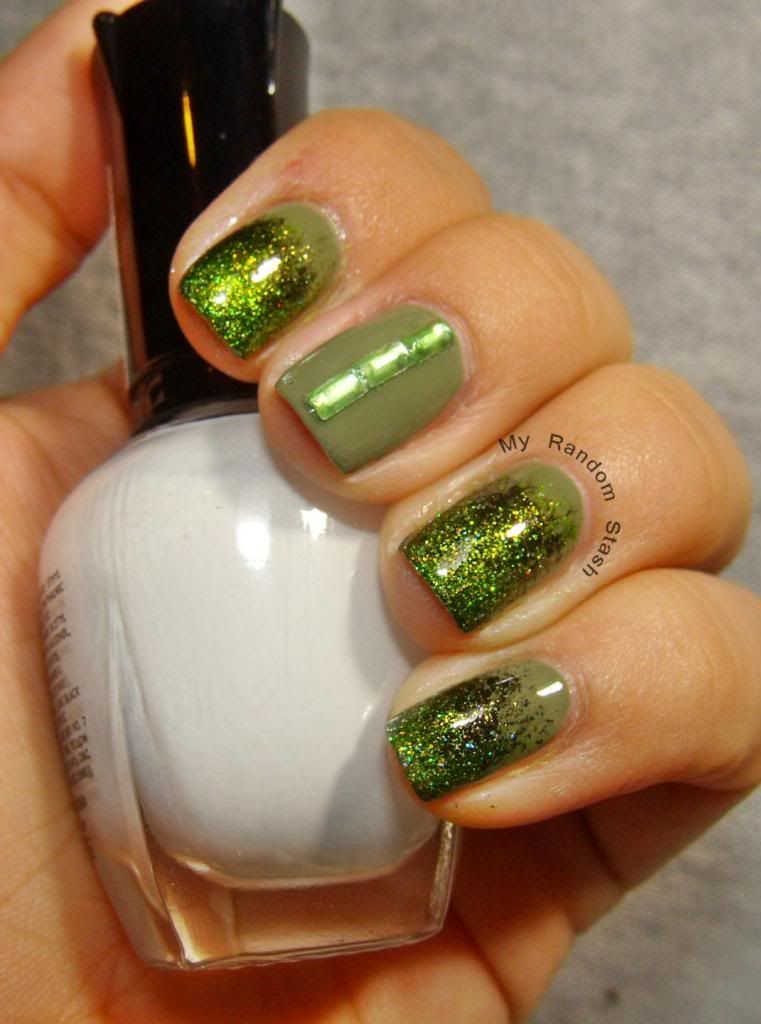
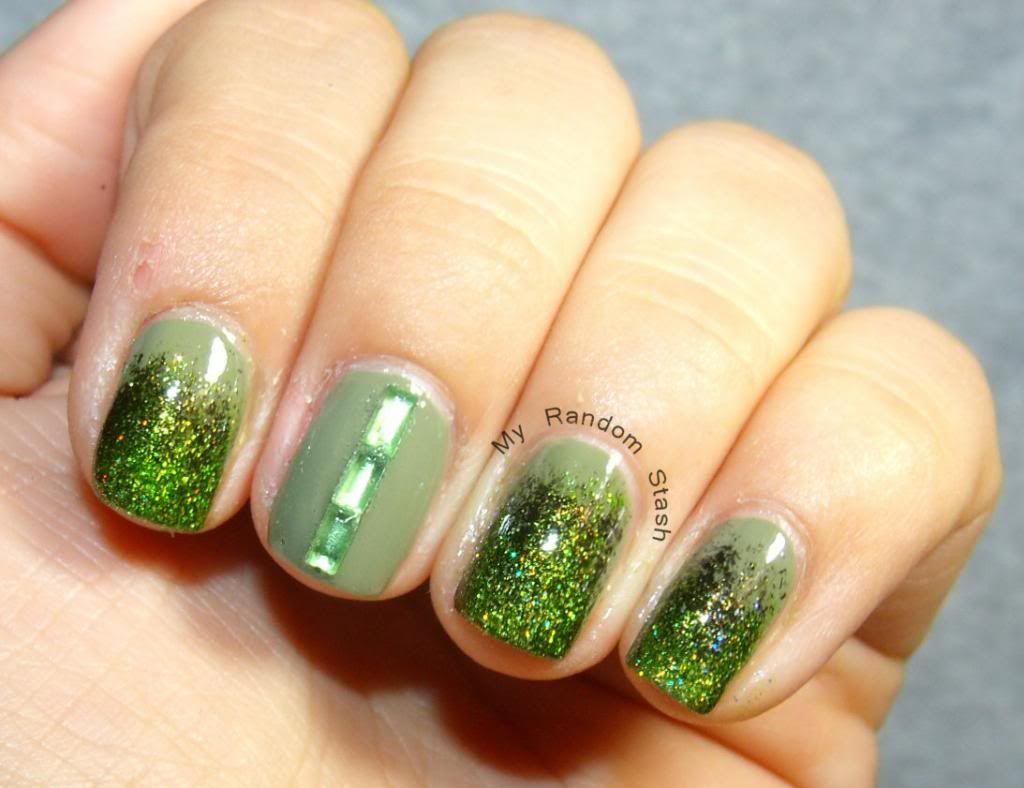
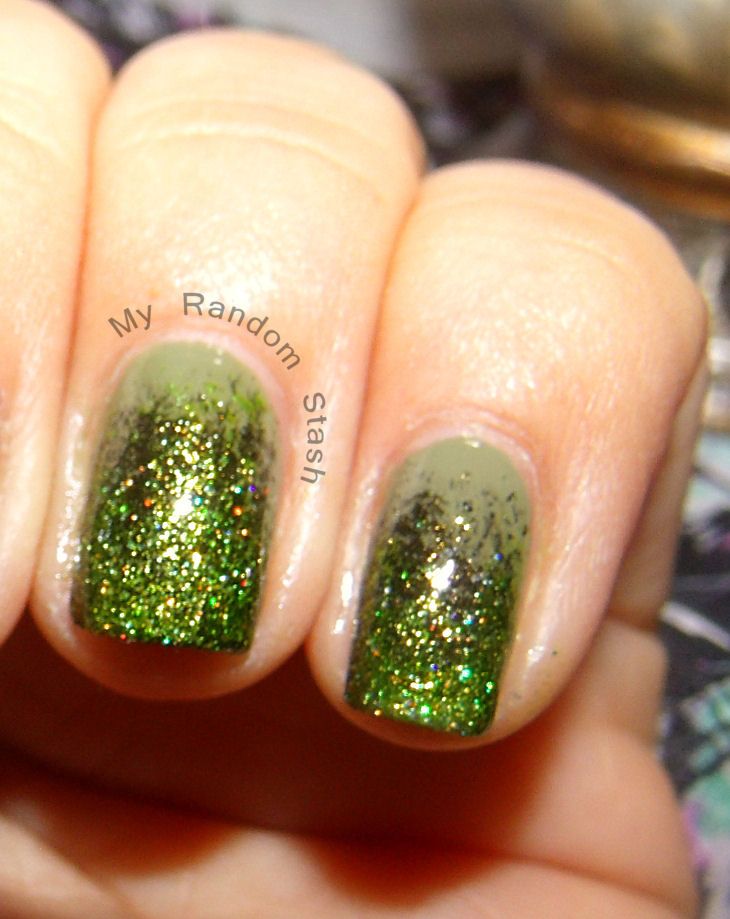
In my opinion making a glitter gradient over a solid color base is easier. With glitter you can use the nail polish own brush. Making the solid color gradient with makeup sponges is more messy, but I learned that if you have patience, the results can be beautiful!
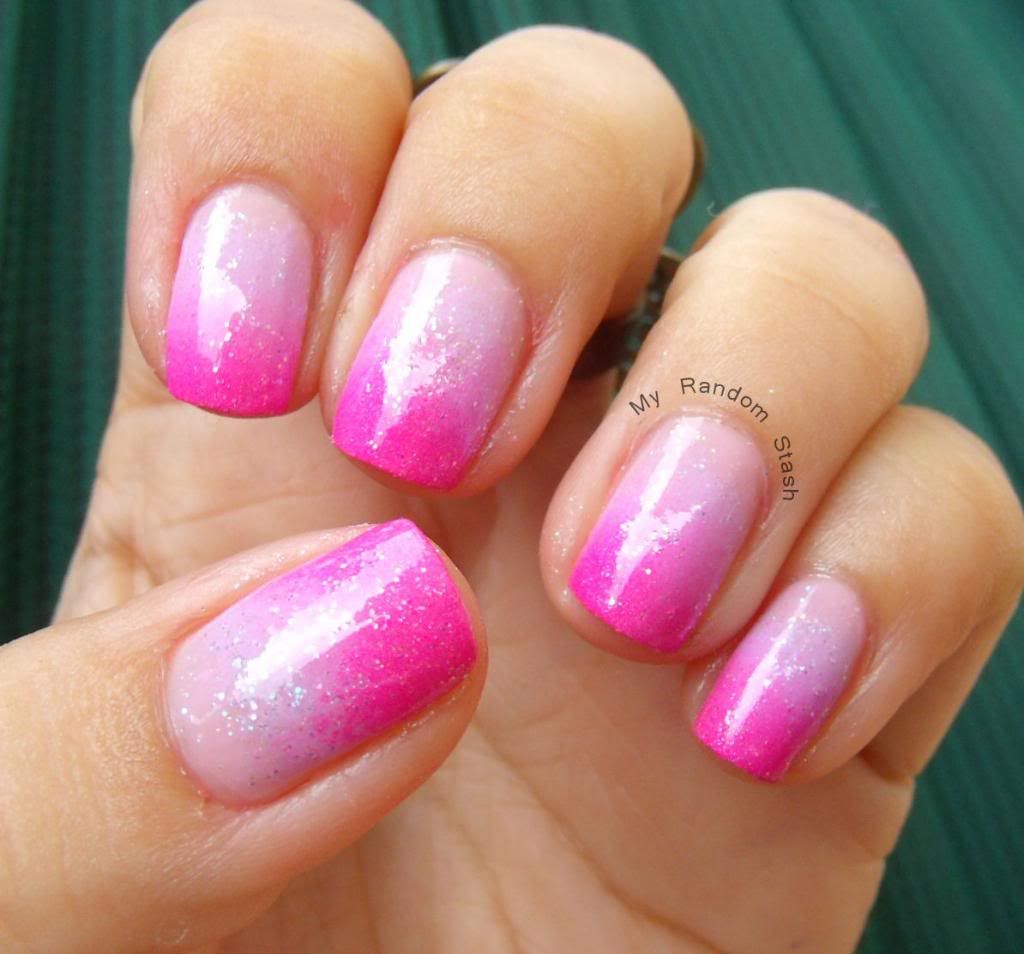
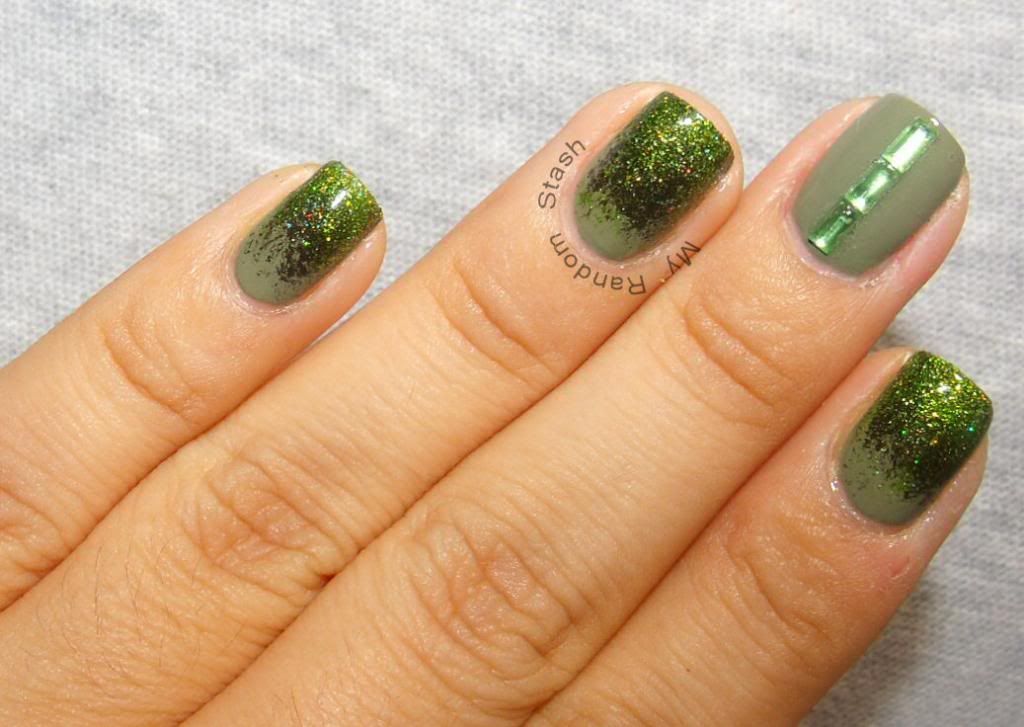
I'm very happy with my results :D
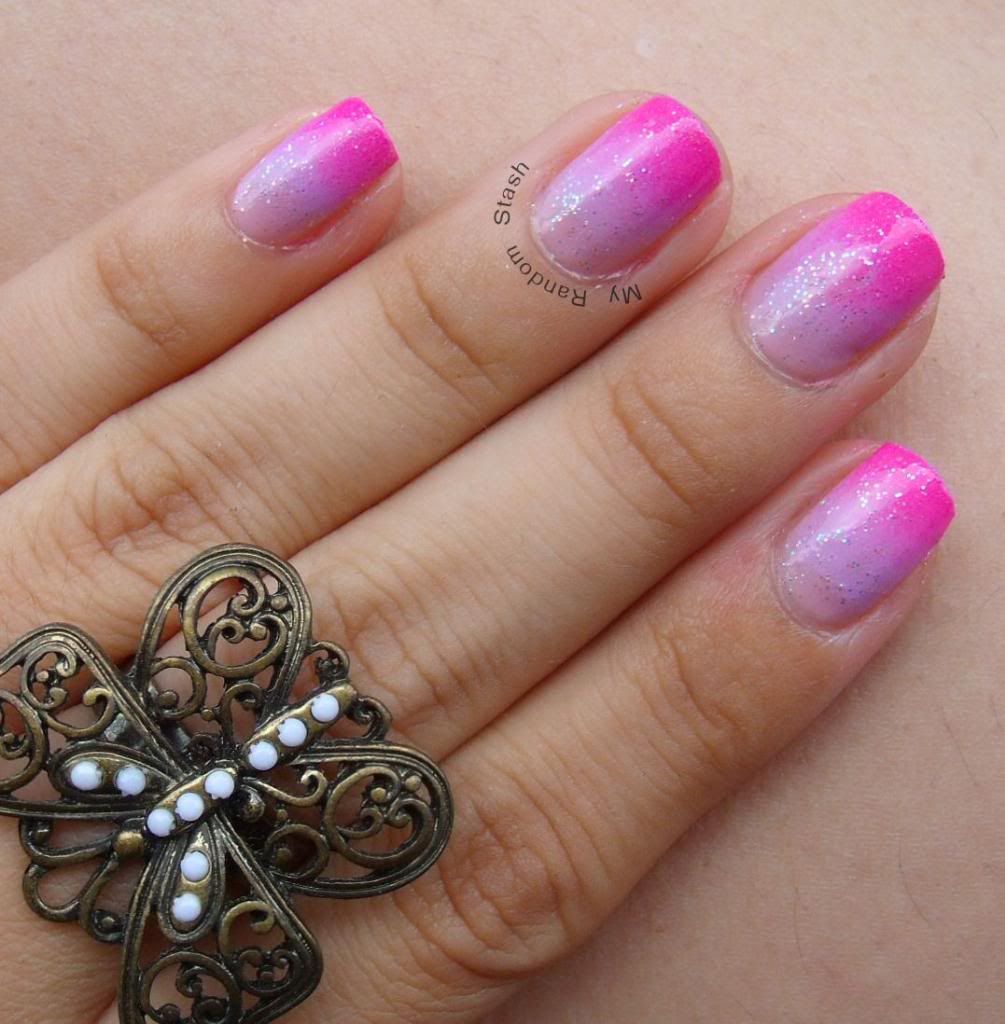
butterfly ring from Charlotte Russe :)
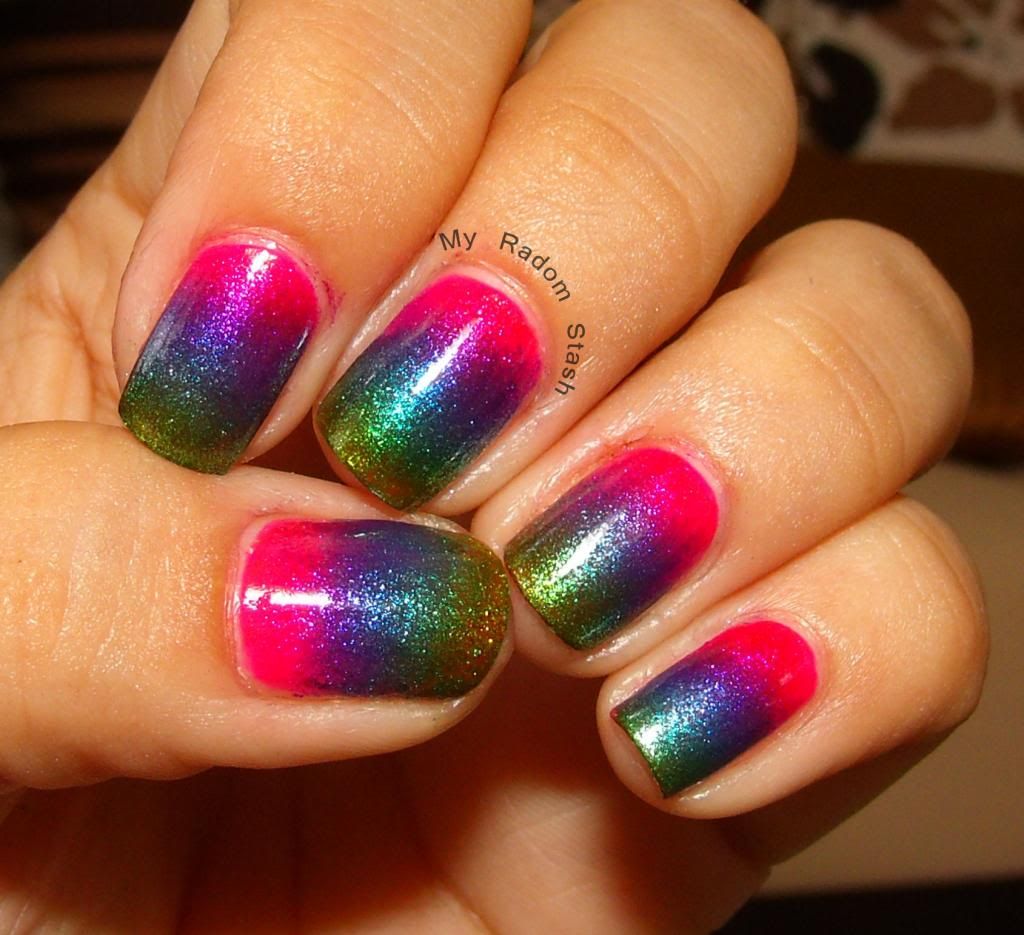
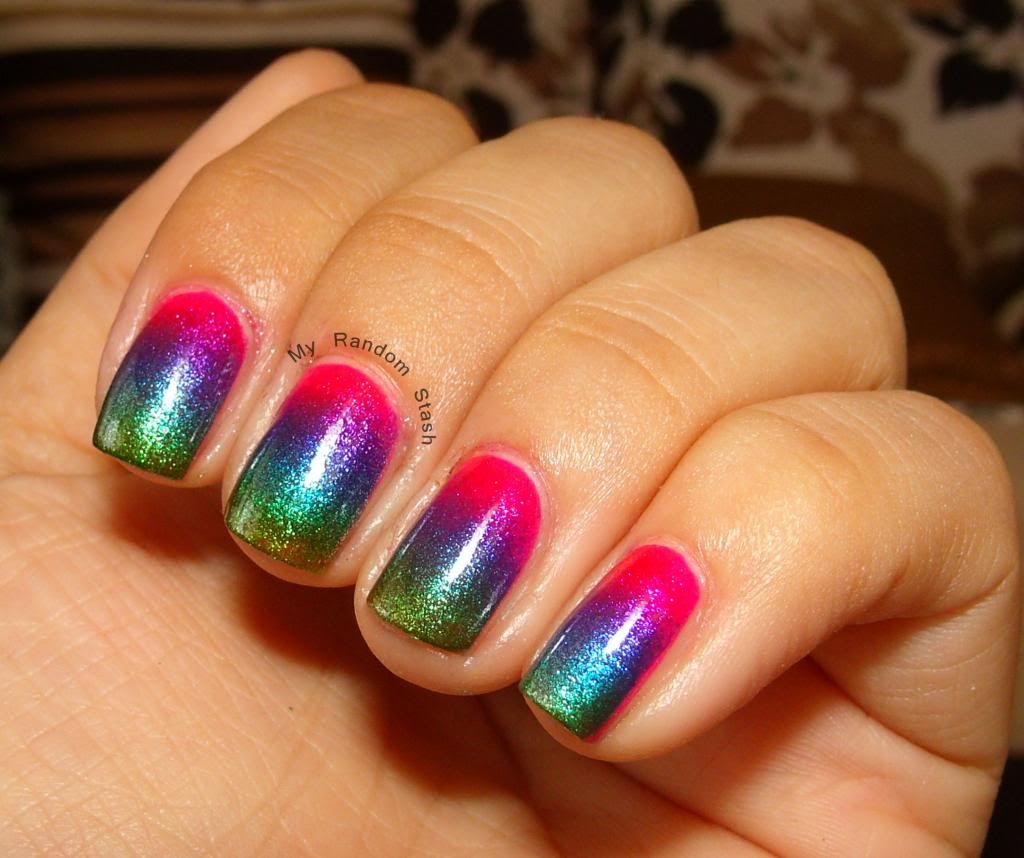
the pink really pops! on pictures taken indoors with flash
What I used:
Kleancolor Sheer Pastel Gray (base color)
Kleancolor Pastel Purple & Pink Lady (for sponging)
Wet n Wild Hallucinate
Tools:
makeup sponge - the ones that comes in wedges
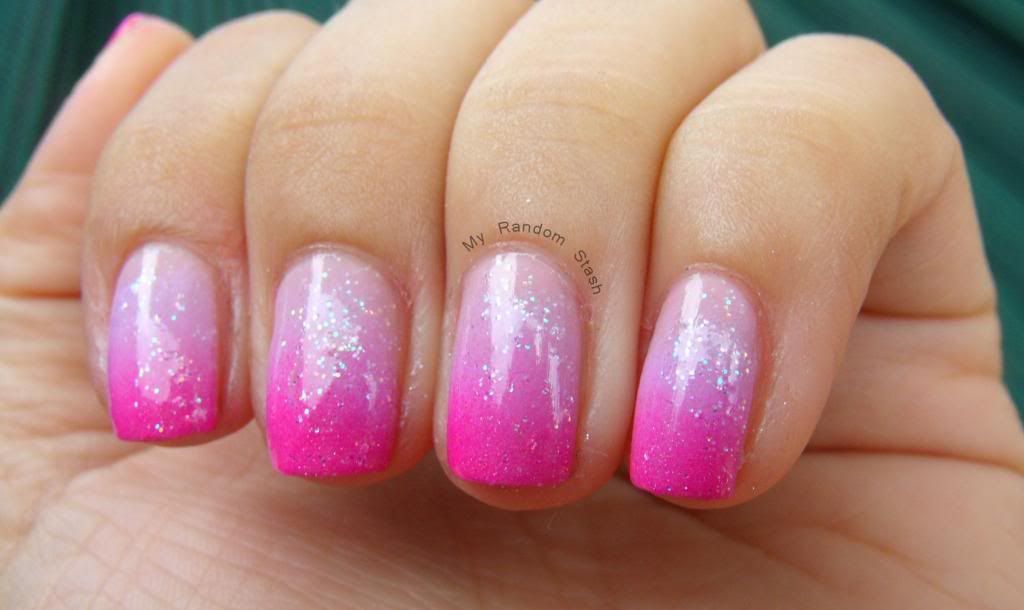
** Tips **
While you master the technique, choose a base color similar (but not the same) as the first color you are going to put into the sponge. This way the gradient seems more seamless.
Wet your sponge before putting nail polish on. The chemicals on the nail polish could "eat" out synthetic sponges and therefore, leave small pieces of the sponge in your nails. Thanks to Desi for pointing it out!
If you see some separation between the base color and the first sponging shade don't panic; topcoat usually helps blending the colors even more.
Acrylic paints are a good option for gradients because you can cleanup with water.
3.08.2013
Green Sponged & Jeweled Manicure
Oh my! I'm on a roll experimenting with the different techniques to do my nails.
There are so many blog, YouTube, Fb pages, Instagram, Pinterest and what not accounts dedicated solely to nail art that every time I see a picture I'm like "Hell yeah, I'm gonna do that!" LoL
I kept in mind St Patrick's theme to give some love to my green nail polish stash
Used Sinful Colors Beau Khaki as the base color. Then sponged China Glaze Agro, Kleancolor Metallic Green & Holo Green. The final touch where the green rectangle rhinestones in the middle finger.
7.24.2012
Review: London-Soho-New York Beauty Sponge
One of my classmates asked for advice on wheter or not purchase the Beauty Blender. I told her my experience with it, I used mine only once, didn't even bother to post a review. I could not get used to it, I'm a brush person. But I adviced her to try the affordable version from London-Soho-New York after reading Diane Cristi's review. She got it and fell in love with it. While practicing my makeup for the mock-interview for one of our classes I notice my Kirkland flat top brush was getting bald. Because I could not find a replacement at Costco, settled for a second chance to the blender sponges & I'm so glad I did!
Comparing both sponges after just one try on each, I feel more comfortable using the SOHO one. At least to me, it seems smaller and the texture is softer. The price also wins my heart ($7.99 or $5 on sale vs the Beauty Blender) I was able to achieve a smooth finish with great coverage; even beter than the brush.
I did a test run on half of my face before doing full face makeup. the official test was last Friday for the Medical Secretary initiation ceremony. Felt tempted to avoid using loose powder because my skin looked airbrushed, but high temperatures around here are not to trust. If you are looking for a good and affordable alternative to the Beauty Blender, the SOHO Beauty Sponge is a great option.
Subscribe to:
Posts (Atom)