Showing posts with label nail art. Show all posts

6.09.2013

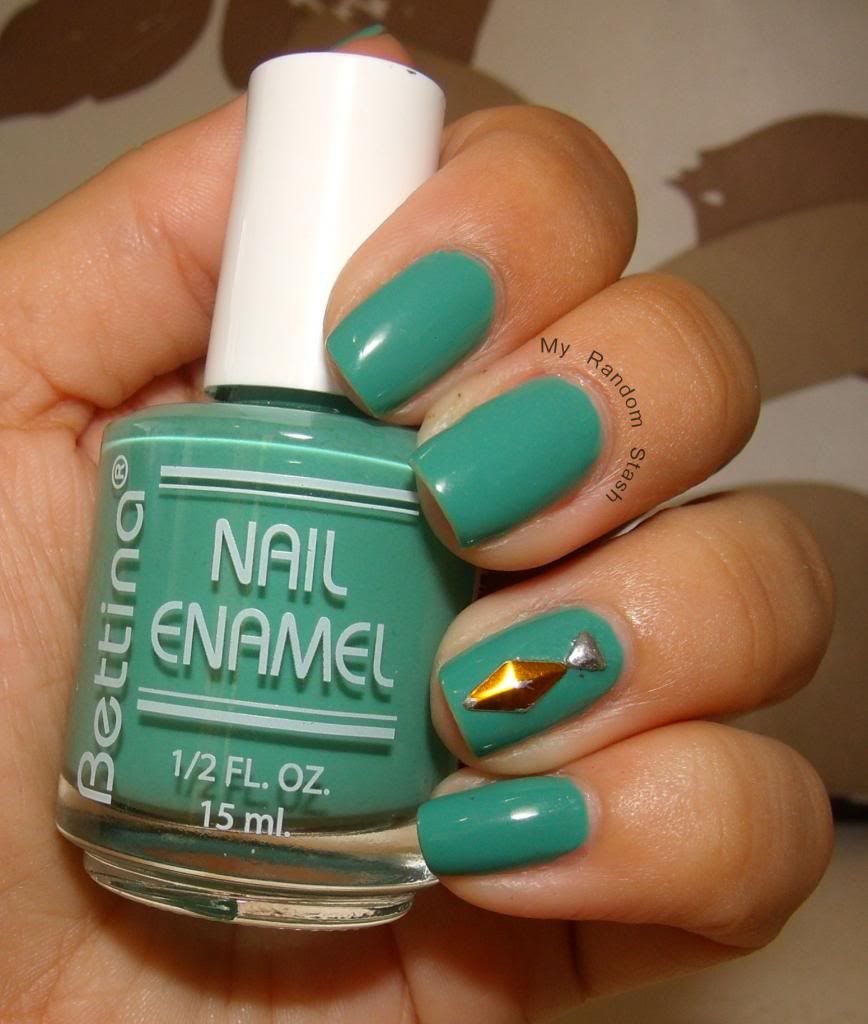
Bettina Ocean + Update

Hi there, long time no post!
In my defense, I have a good excuse.  As I mentioned before, I've been -desperately- looking for job and my payers where finally answered.  Last week I started in a new job.  I'll be on probationary term for 3 months and if everything goes well, it will be permanent. 
Please keep me in your prayers! :)

Now to the polish: here is what I wore on my nails a couple weeks ago
Bettina Ocean with some studs I got at Icing.  I took the picture 4 days latter, so that is why the gold stud is a bit peeled.

I have many more manis ready, pictures just needs to be cropped and watermarked, but I'm waking up at 4am to get ready for work and then getting back home at about 5:30 pm so I'm too tired to work with them.
Think once I finish with Pueen's Love Elements and Gals Fairy set, I'll be on track again.

Until next lovelies!

5.24.2013

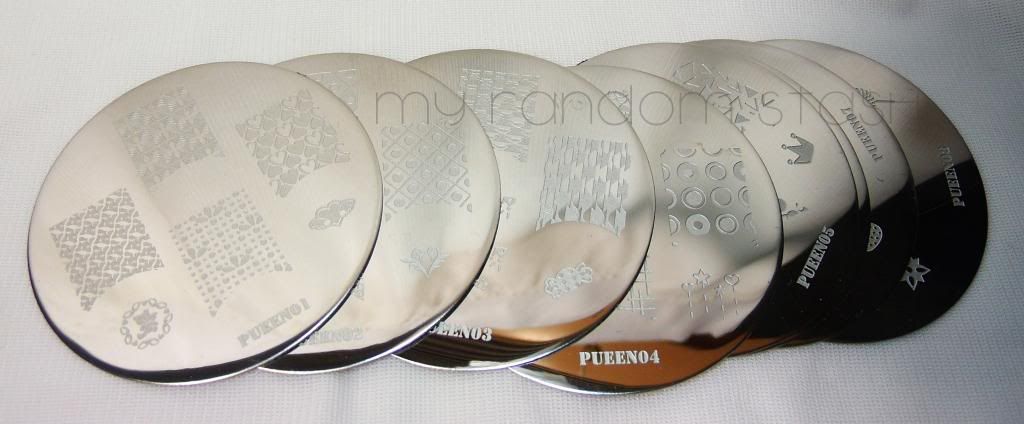
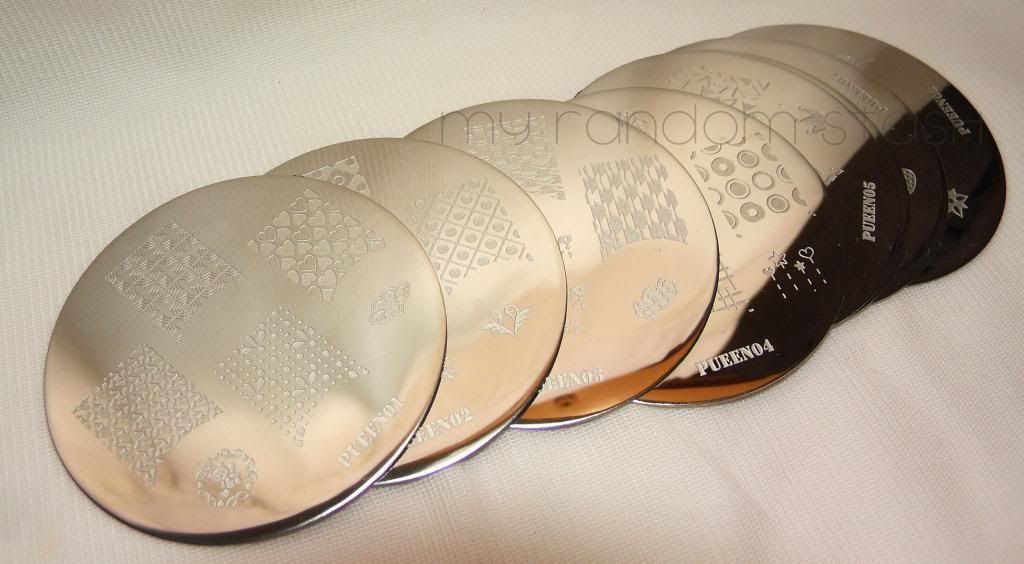
Pueen 2013 Stamping Plates Collection

Last month I won a giveaway Cazzy from SpecialGirl Nails was hosting - YAY!.  The prize was a $50 gift certificate from any online store of my liking - I choose Amazon because I was drooling over this plates.
Ordered them from my aunt's Amazon account because they had "prime shipping".  I thought the "prime" thing was just to save on shipping, but apparently it speeds it too.  I ordered on Thursday night and they where delivered on Wednesday next week.

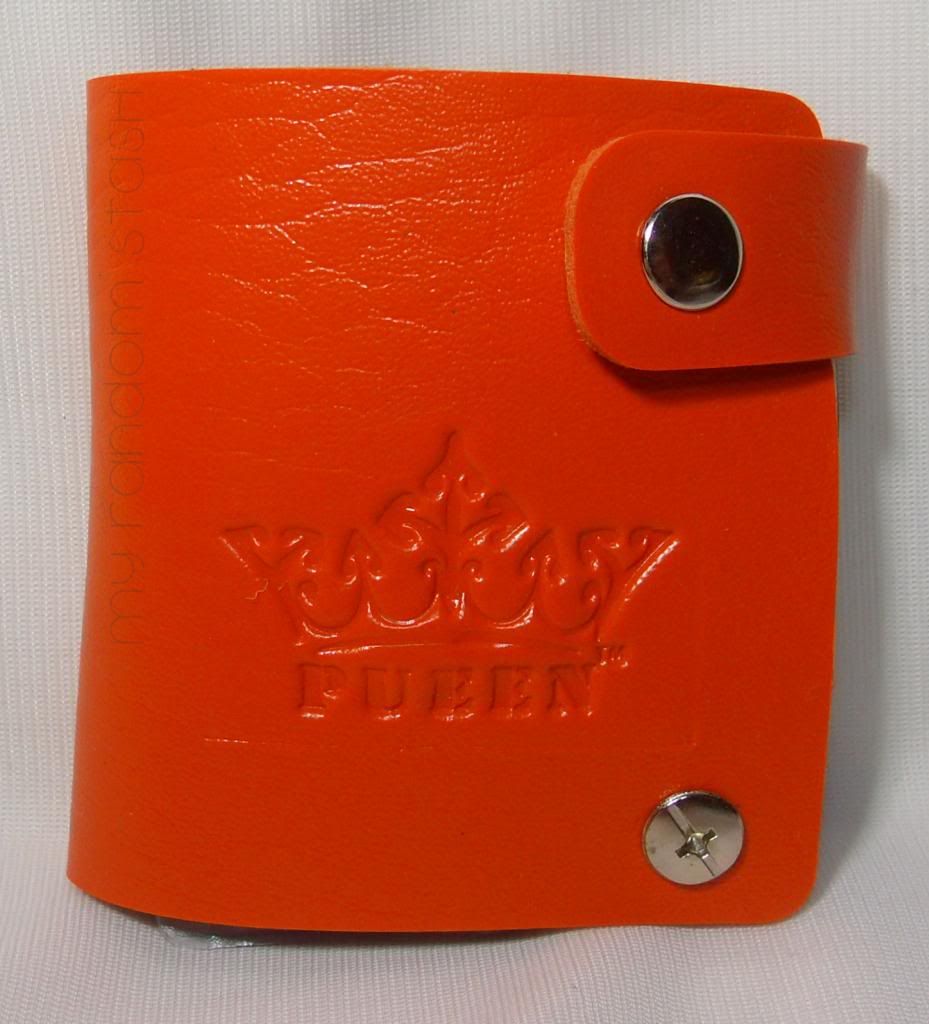
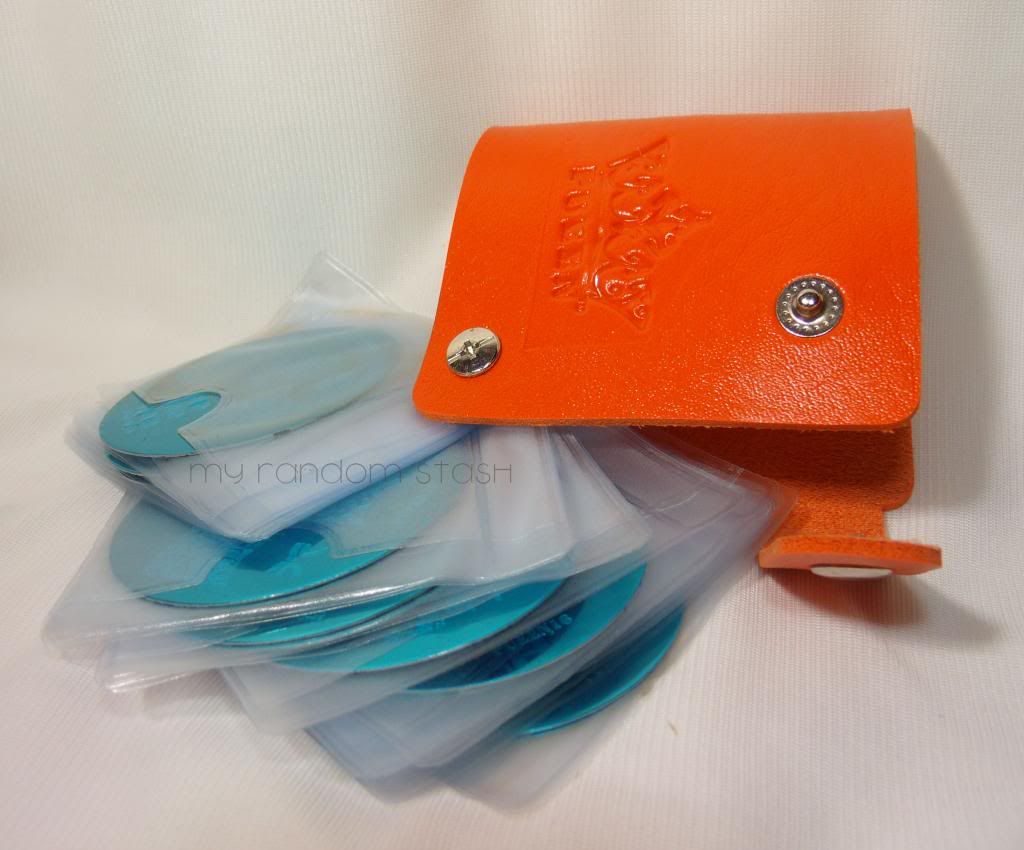
The 2013 Collection includes 25 plates that come in this cute orange storage case.  


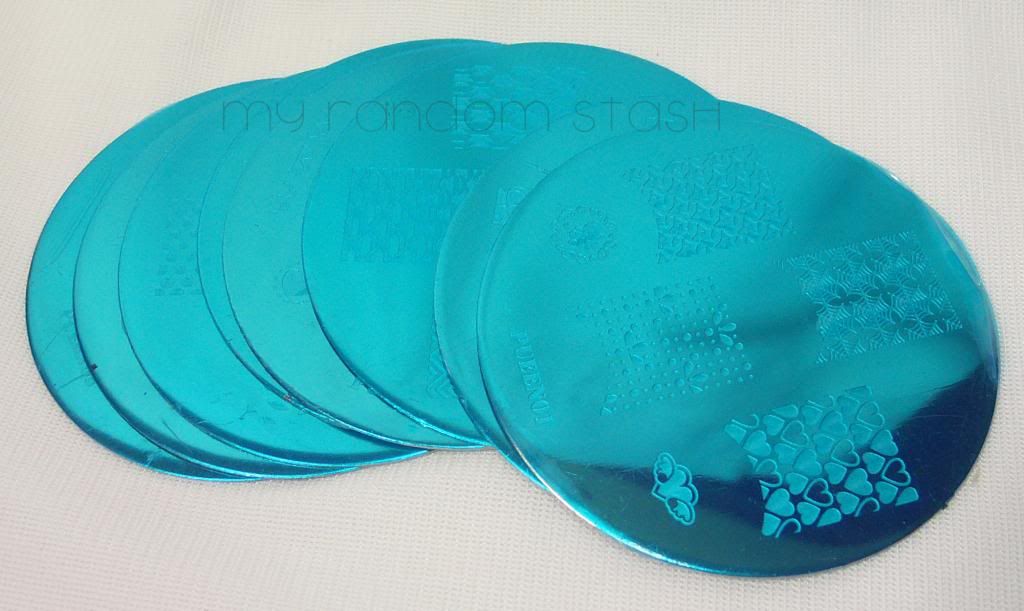
Each plate comes with a protective blue film cover.  I prefer plates with a colored protective film; this way people that are new to stamping notice that they need to remove it before using the plates.  When a plate is covered with a clear film, you can barely notice it.

Plates without protective film
 

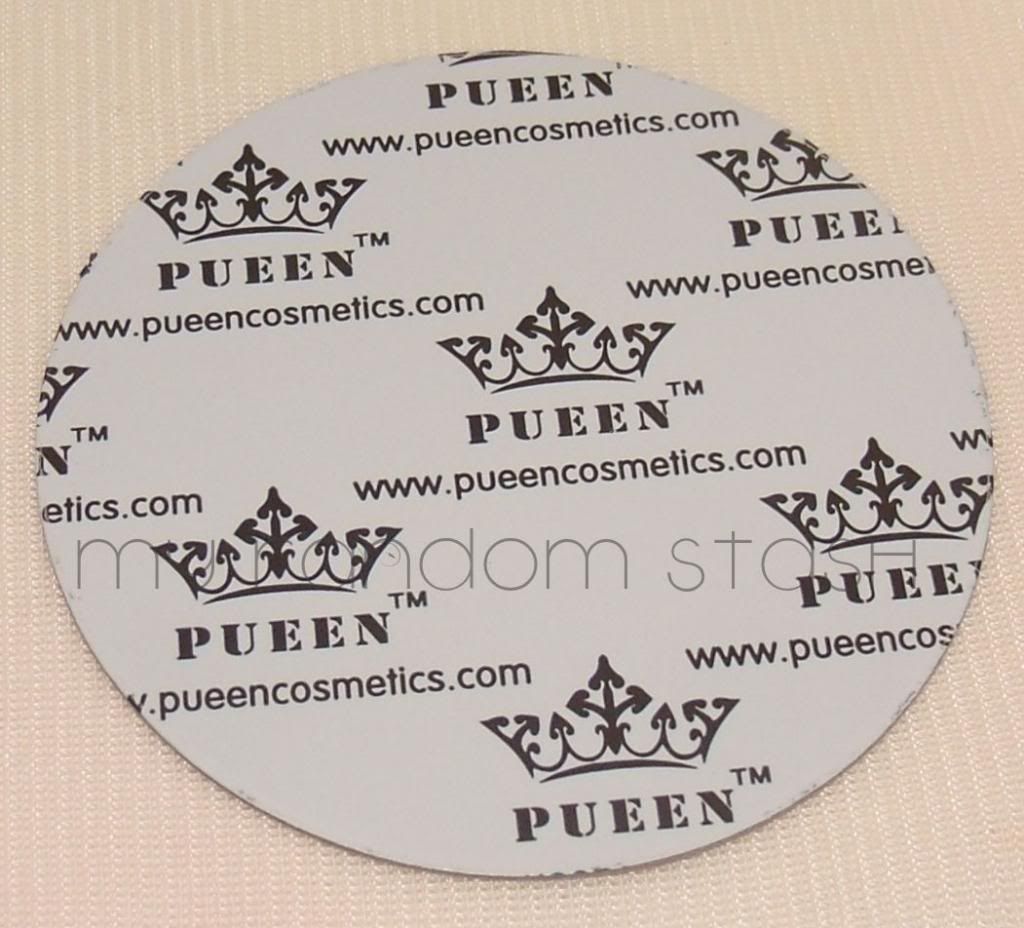
backing of the plates with Pueen's logo

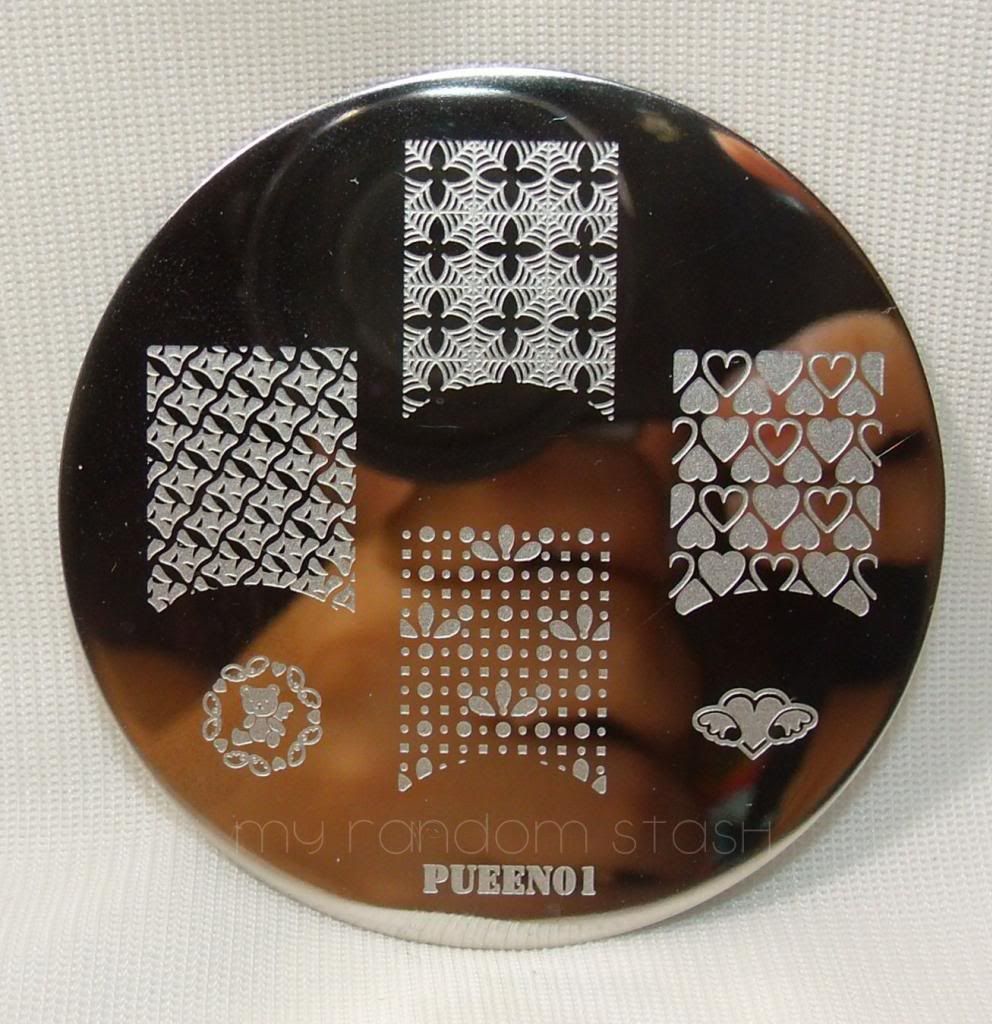
Clear shot of individual plates
You can see the designs on this plates are very well engraved.
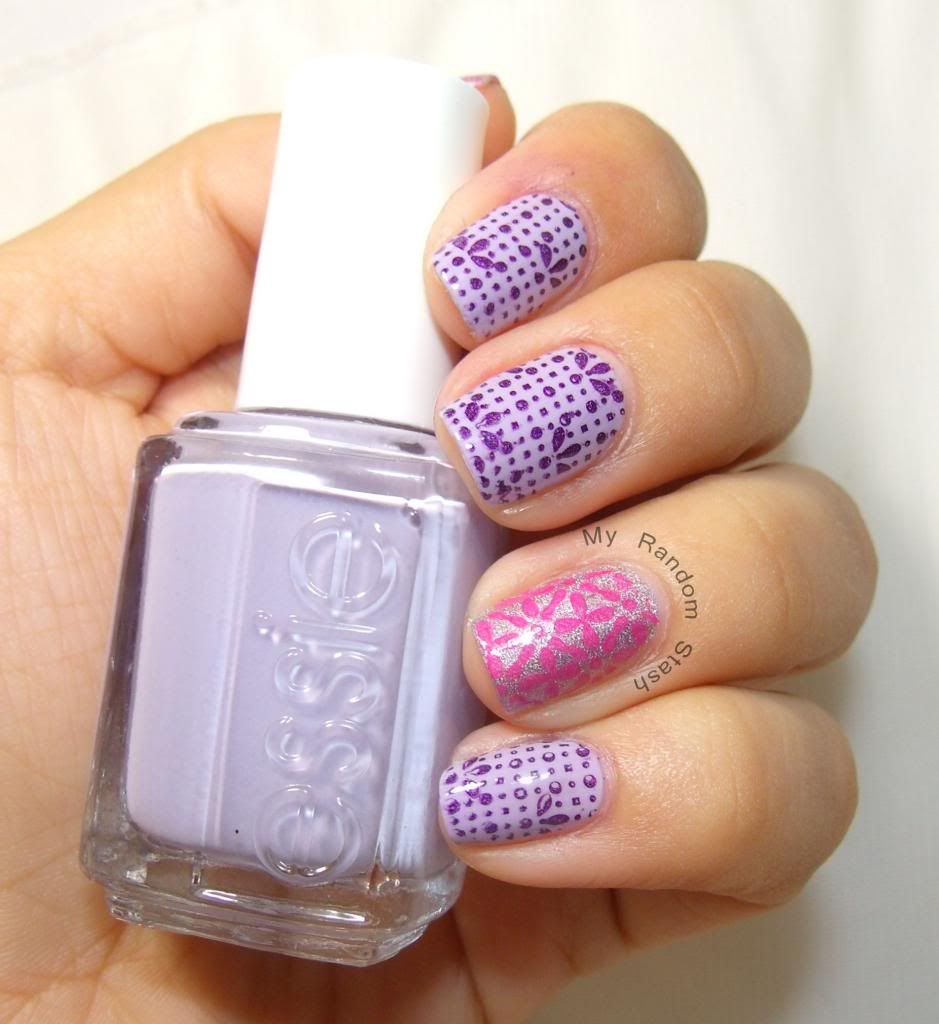
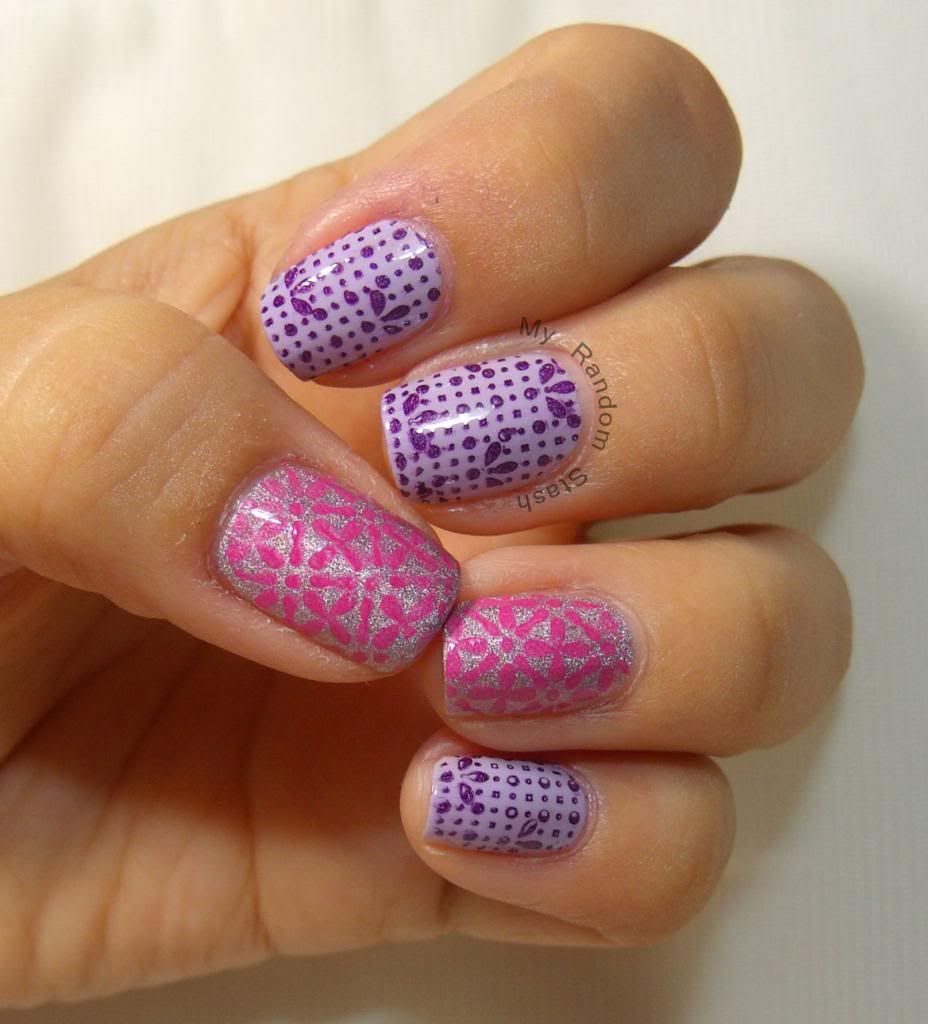
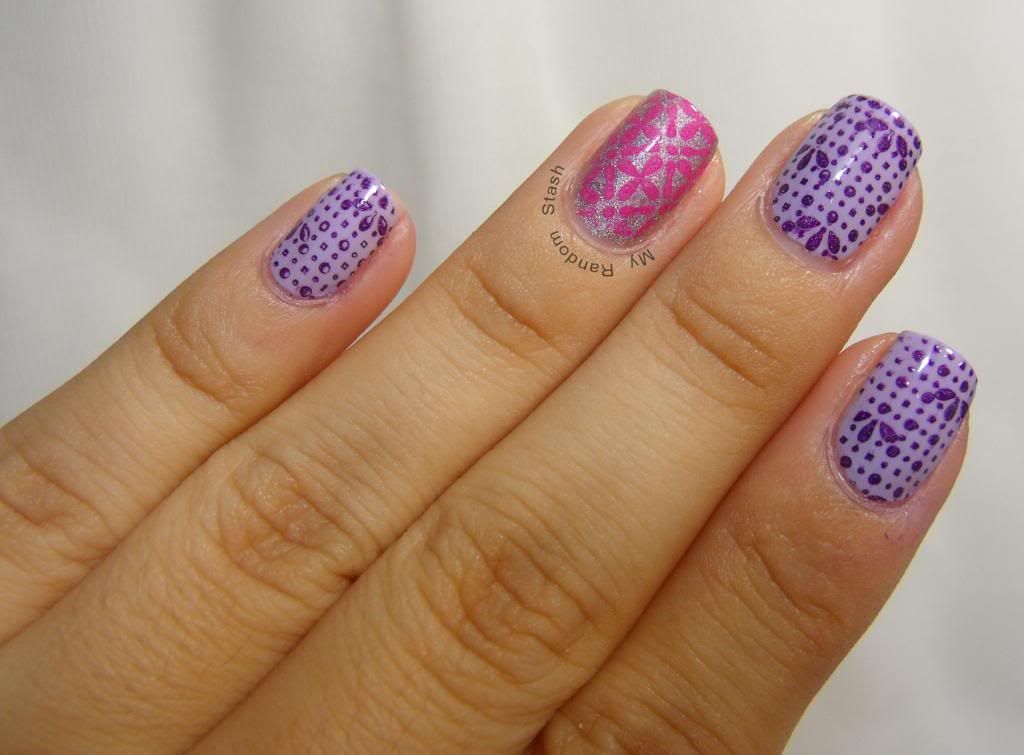
I used this two plates for an AIS Challenge, the theme was to stamp over lilac.

Here are the results of my very first time using the plates.  I didn't even made random test stamps, so this was my absolutely first experience.  The first plate to try was 01.  The first stamps didn't came out so well because I was trying to scrape from different angles & directions until I found the right one.  In my experience, the right angle & direction to scrape can vary from design to design.  The accent nails came out great!

Base is Essie Lilacism, stamped with Color Club Wild at Heart, China Glaze Escaping Reality.

My impressions:

- Love the storage & display case!  If you own a vast collection of plates, another case might not be practical; but I only had the Bundle Monster, Salon Express & some randoms from Born Pretty Store  (which are stored in a ziplock bag - I know, shame!)  If Pueen decided to sell this case separately it would be a hit.  Each plate is stored in a clear nylon sheet, which is super convenient because not only you can have them neatly stored in order, but you can browse the design without having to take them out of lil' pocket.

- It is a little bit difficult to take the plates out of the nylon sheet, they are quite snugged in there.  I'm on the fence with this - it requires a slight pull to get them out, but I would hate them to be loose and falling out of the sheet; which is what happened with my BM plates when I put them on baseball card holders.

-  The borders of the plates are very smooth, so +1 for safety!

- Each plate includes 4 big images and 2 small ones (150 images total).  There are no french tip designs, which I rarely care for.

-  The set includes a great selection of designs including geometrical shapes, flowery and abstract patters, hearts, starts, animal prints, single flowers and even fruits!  The small designs are very cute and nicely compliment the big ones.

- The full nail designs are big enough to cover the width of my hole thumb.  With the Bundle Monster & Salon Express I have to do the trick of squeezing the stamper from the sides to make the design wider; which almost never comes out right.

I have a lot more designs to try, but so far I am loving this collection.  I'm really happy that I got them!
Thanks to Cazzy & Pueen Cosmetics for making me a Happy Stamp-a-holic!

5.20.2013

Sinful Colors Nirvana & Nailtini Millionaire

Hi there!
Besides looking for a steady job, I've been trying to stop procrastinating when it comes to crop & watermark pictures.  I love to blog but the picture part gets a bit annoying when you take 10,000 pics but you barely like one or two :(
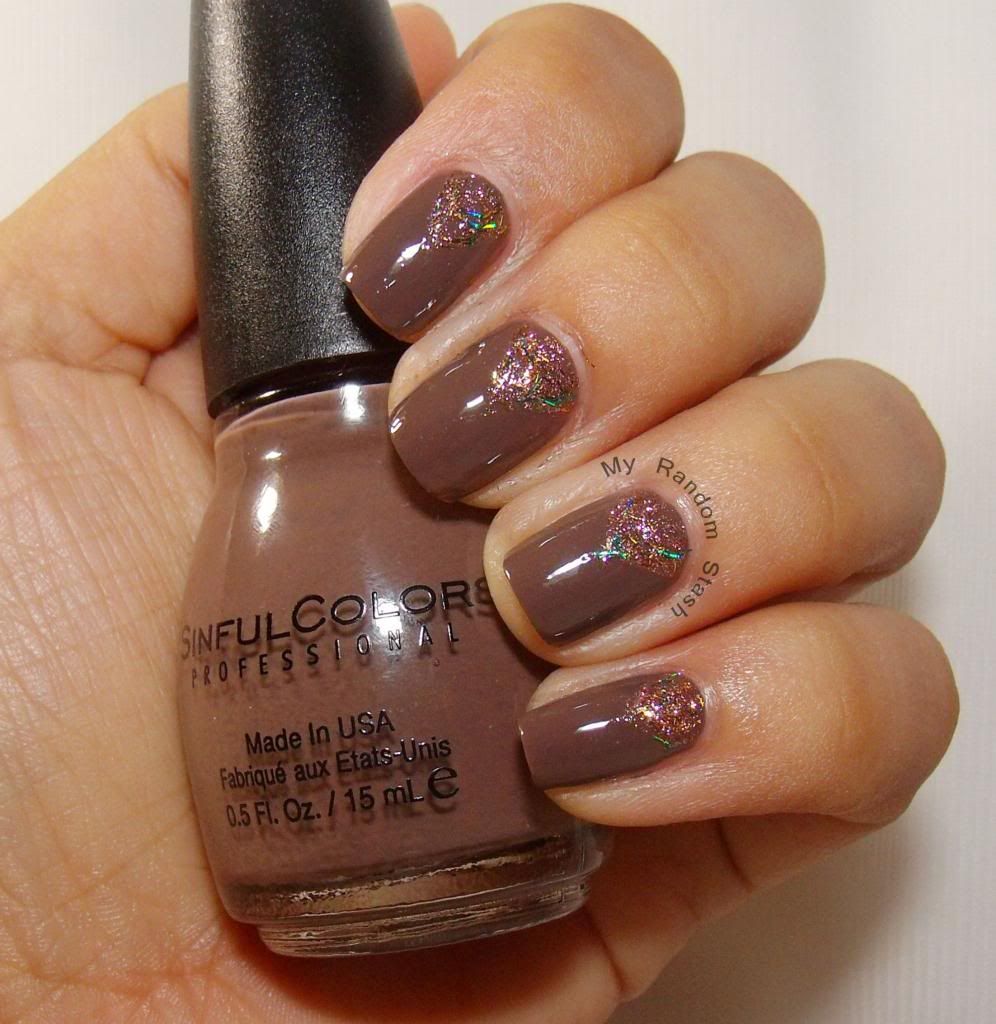
In Puerto Rico, Spring & Summer is basically the same thing.  The seasons call for bright colors, but I can't help reach for something darker and rich like Nirvana!  I love how with colors like Nirvana you can go from elegant to sexy in a minute.
While looking for ideas on how to pair Millionaire with another polish, I came across this Chalkboard Nails look and decided to replicate it.

In real life Nirvana is darker than how it looks on this pictures

I'm thinking next time I'll pair Millionaire with China Glaze Trendsetter...What do you think?

5.16.2013

Subtle animal print manicure

Animal print is fun, kicky, sexy and it can be delicate too!

What I used:
Bettina French3 (base)
Bettina Marshmallow (stamping)
Sinful Colors Starfish (accent nail)
Bundle Monster bm-223
rhinestones

5.14.2013

Couple ol' manis

More from the random hidden files on my computer  ;)

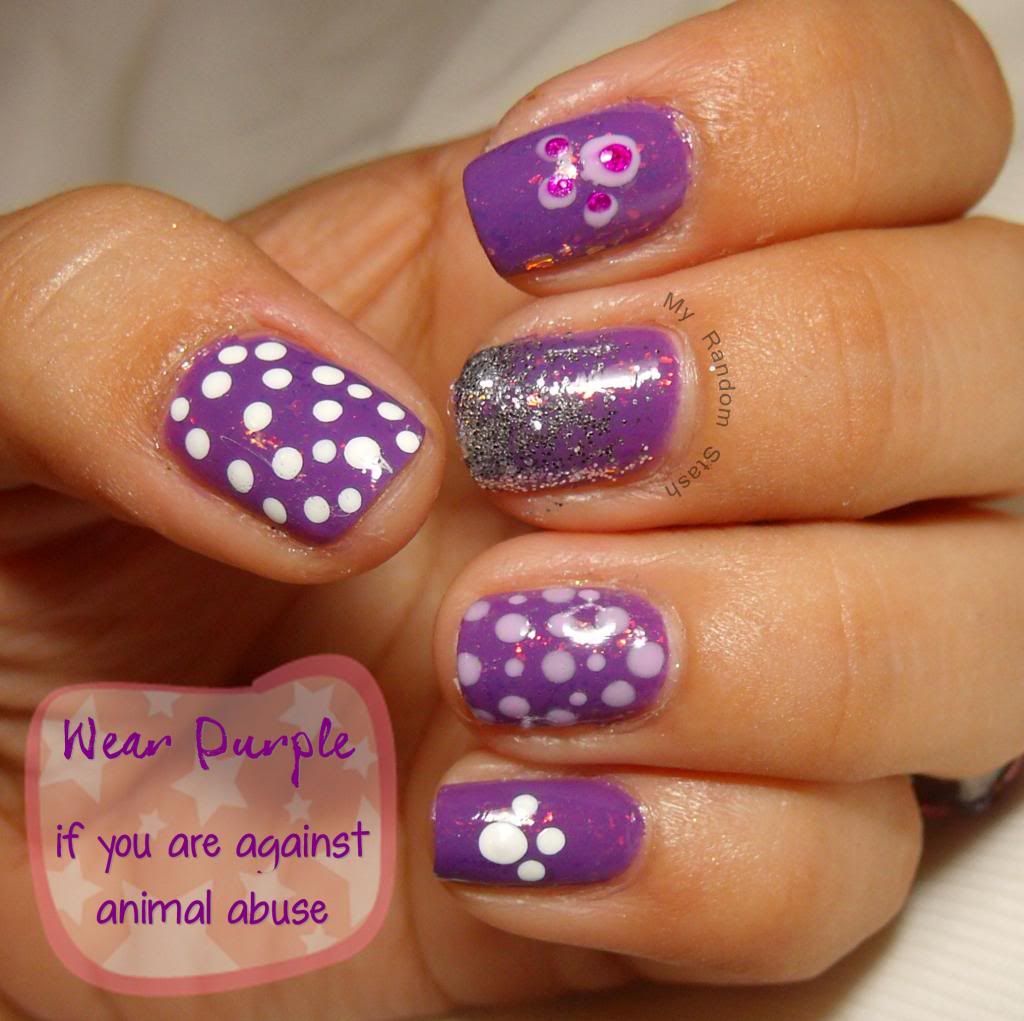
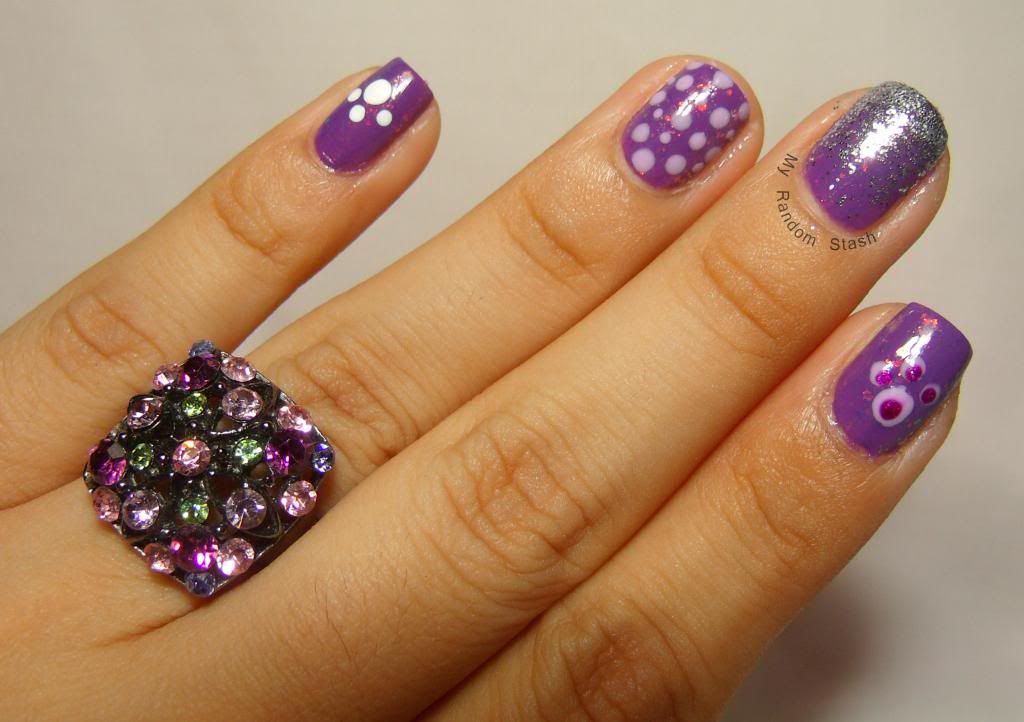
This mani was inspired in a campaign to raise awareness about animal abuse
What I used:
Bettina Purple
China Glaze Tinsel Town
Color Club Snow flakes
KleanColor Metallic Purple
no name lavender polish
white acrylic paint
dotting tool

 Birthday Mani
I wasn't feeling great, so I went very simple on my nails
What I used:
China Glaze Fast Track, Running in Circles, Atlantis
Sally Hansen ColorQuick pen in Green Chrome
Bundle Monster bm-209

5.04.2013

AIS Challenge: Easter

Last night while deleting old files, found a couple pictures misplaced on a random folder (so me!)
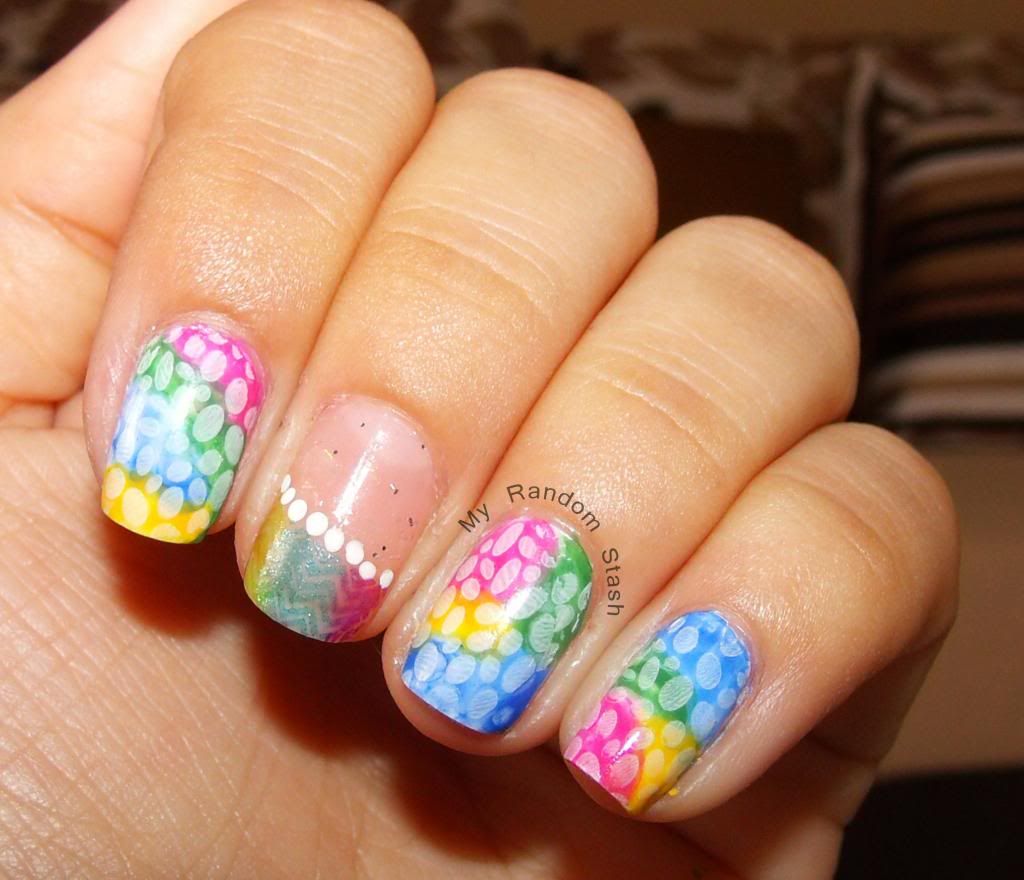
I'm not proud of how this mani came out, but thought of sharing it anyway; cause fail manicures suck but hey, they happen!  This was my submition to the AIS Easter challenge.  I don't own any Easter themed plates, so this design on bm-211 that looked like lil' eggs was my immediate choice.

  
What I Used
Sinful Colors Snow Me White (base)
pink, blue, green, yellow & white acrylic paints
Kleancolor Metallic Fushcia, Aqua & Green (middle finger)
No name silver glitter (middle finger)
Bundle Monster BM-211 & 219
Dotting tool

5.02.2013

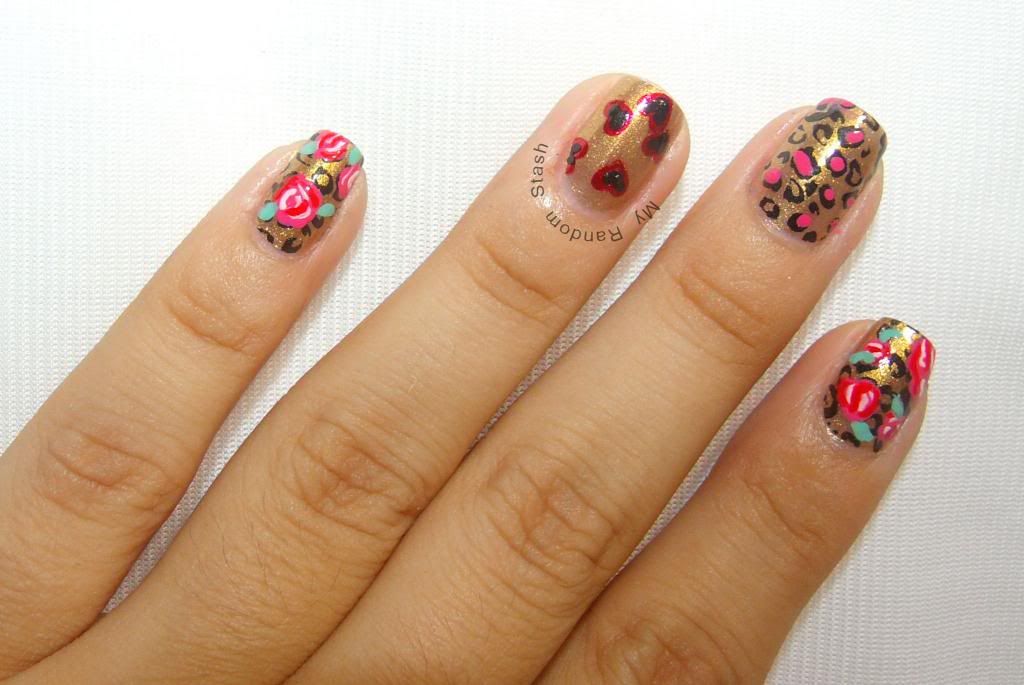
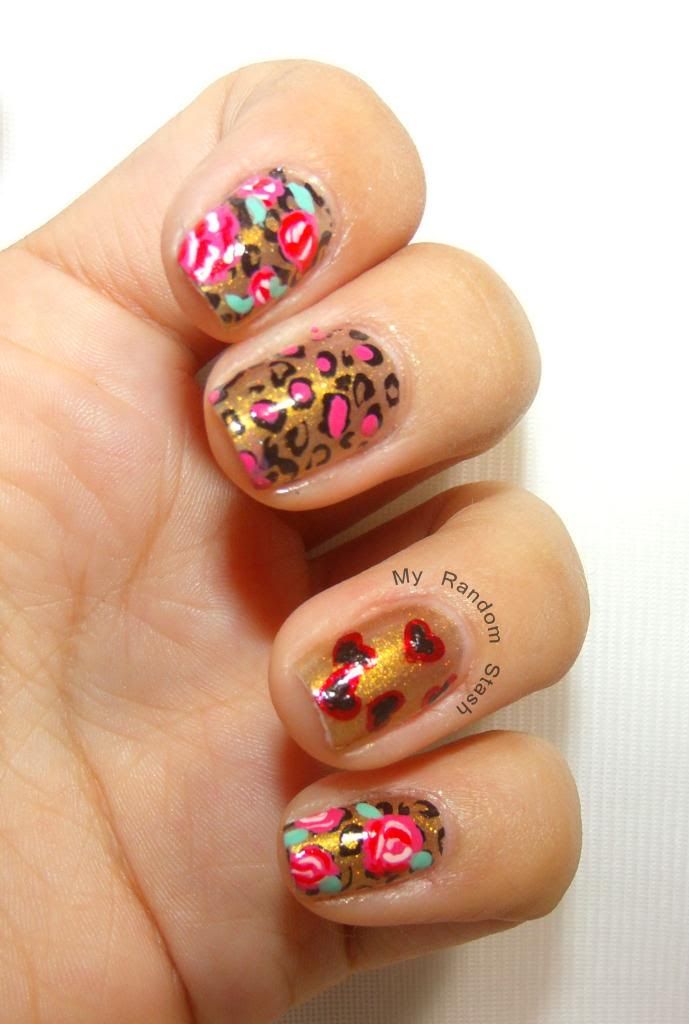
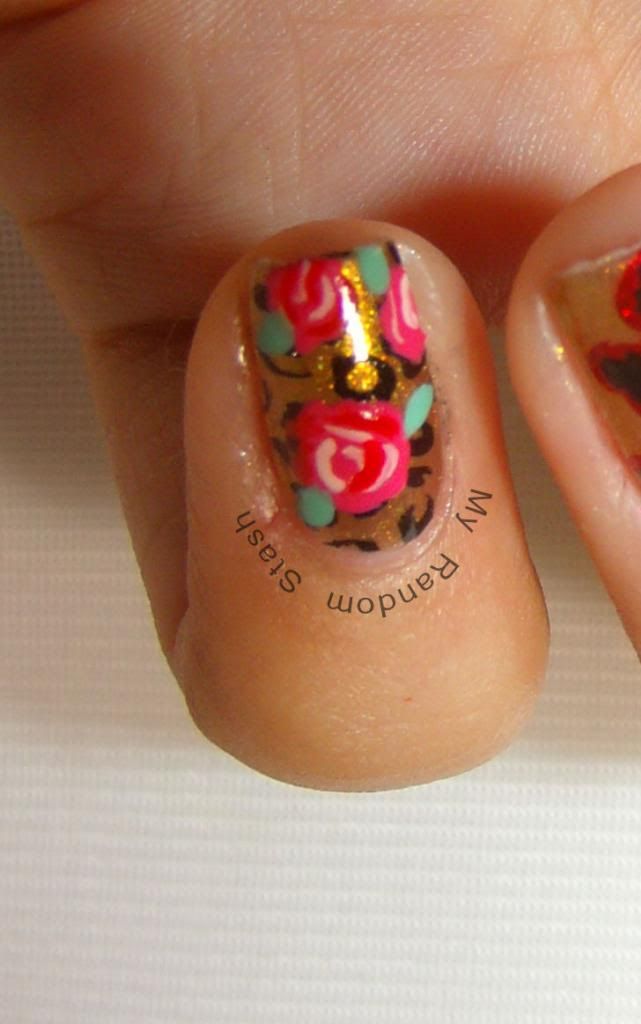
Betsey Jhonson Inspired Manicure

I'm so happy to have joined AIS! The members are super sweet and incredibly talented.
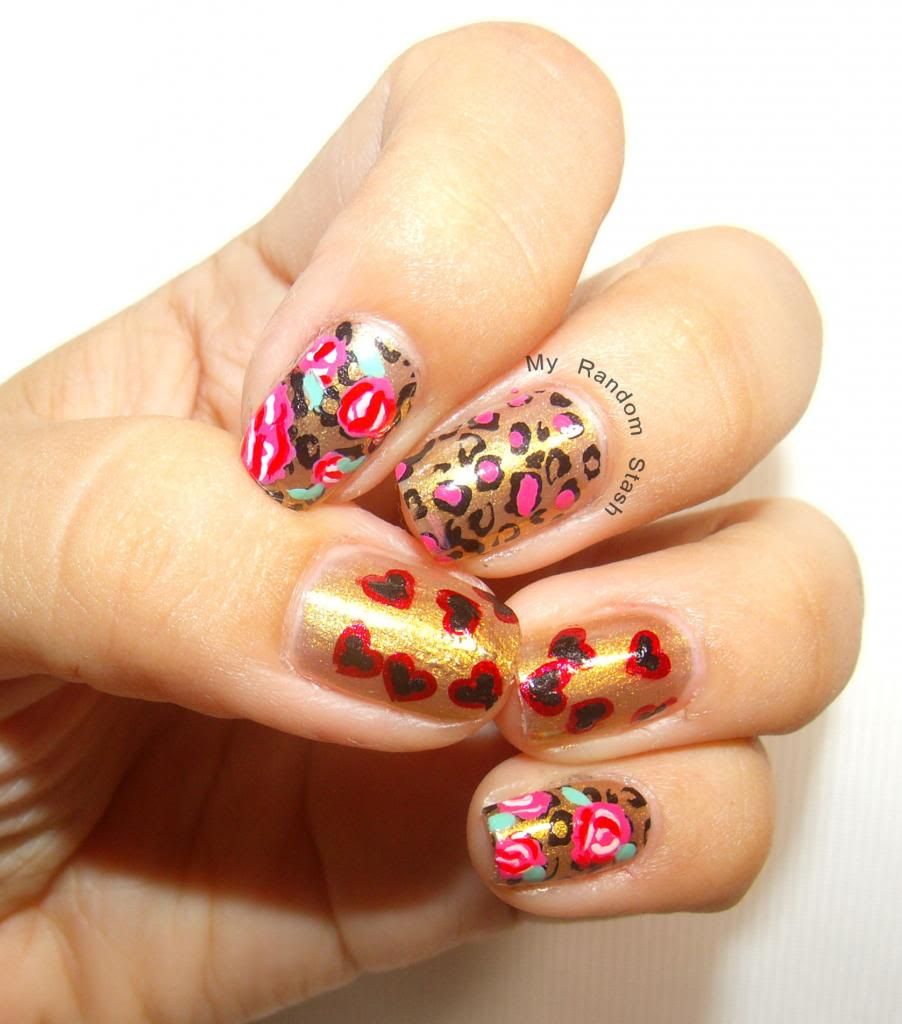
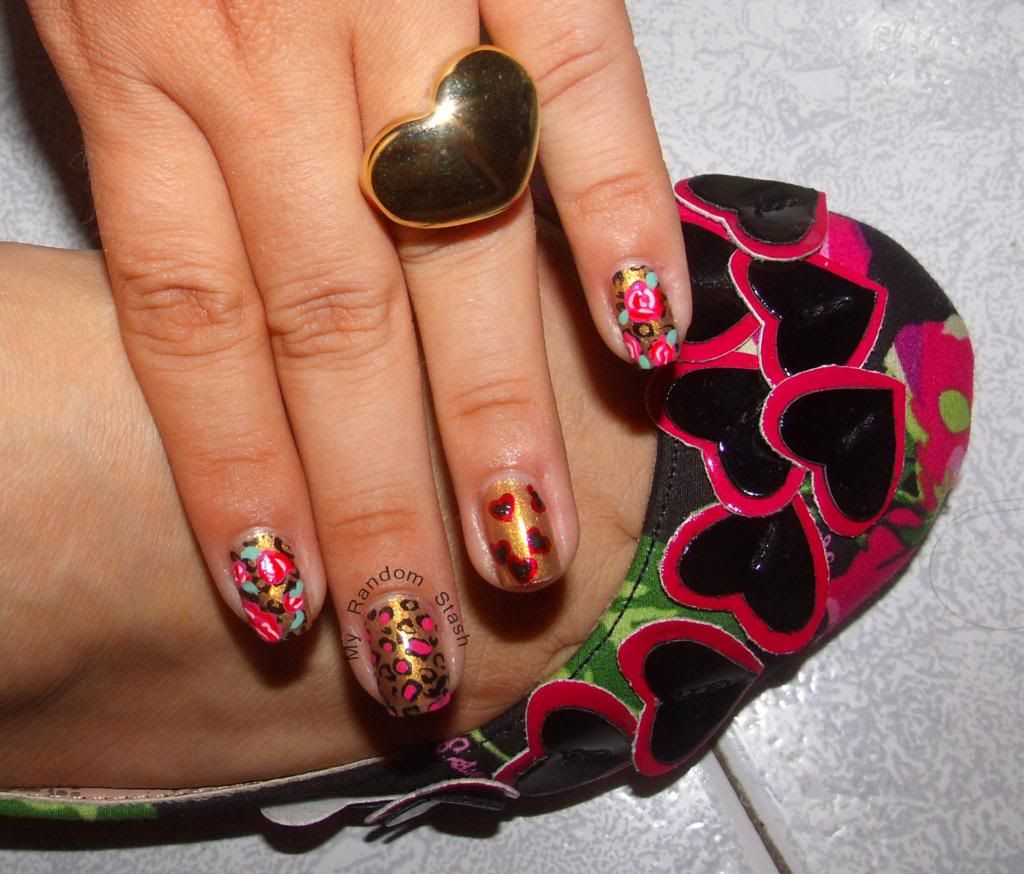
I was inspired to try this look after Beth M posted her on the group.  It was the perfect time to pair my nails with my new Betsey Jhonson flats :)


my favorite nail!

What I used:
Orly Flare (base)
Kleancolor Metallic Black & Red (for stamping)
pink, red, white & green acrylic paints
Bundle Monster bm-221
nail art brushes
dotting tool 

4.22.2013

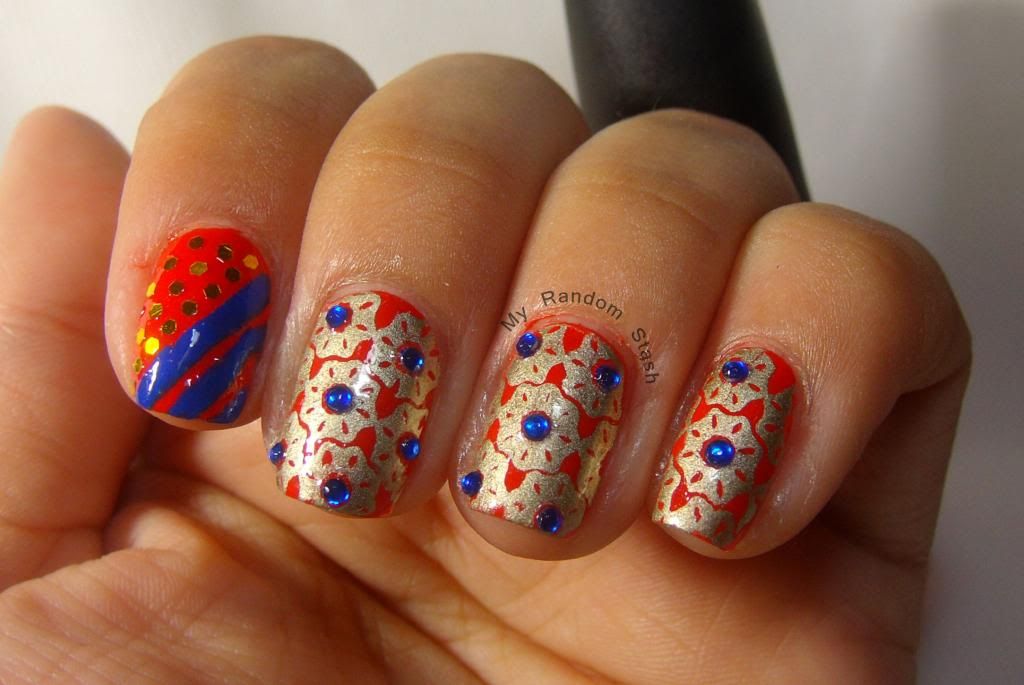
AIS Challenge: Stamp Over Orange

The theme for April 7th challenge on AIS was to stamp over orange.
When it comes to stamping I rarely end totally satisfied with the final results but this time, I couldn't love this manicure more!  It looks like a sari :)


What I used:
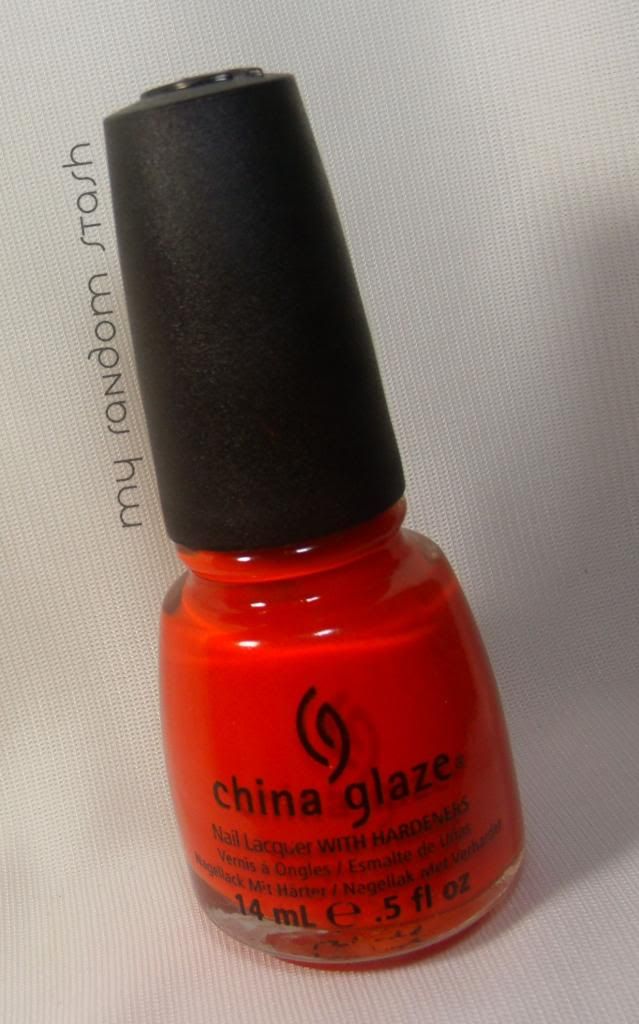
China Glaze Roguish Red (base)
Sally Hansen ColorQuick Fast-Dry pen in gold (stamp)
Sinful Colors Endless Blue
Bundle Monster plate BM-203
blue rhinestones
gold sequins
striping tape
 and a shot of  Roguish Red - cause I loooove it! :)

4.18.2013

AIS Challenge: Spring Flowers

There was so many stuff I didn't post during the Holidays that now I'm way behind posting my recent ones, ugh! but I'm almost catching up.

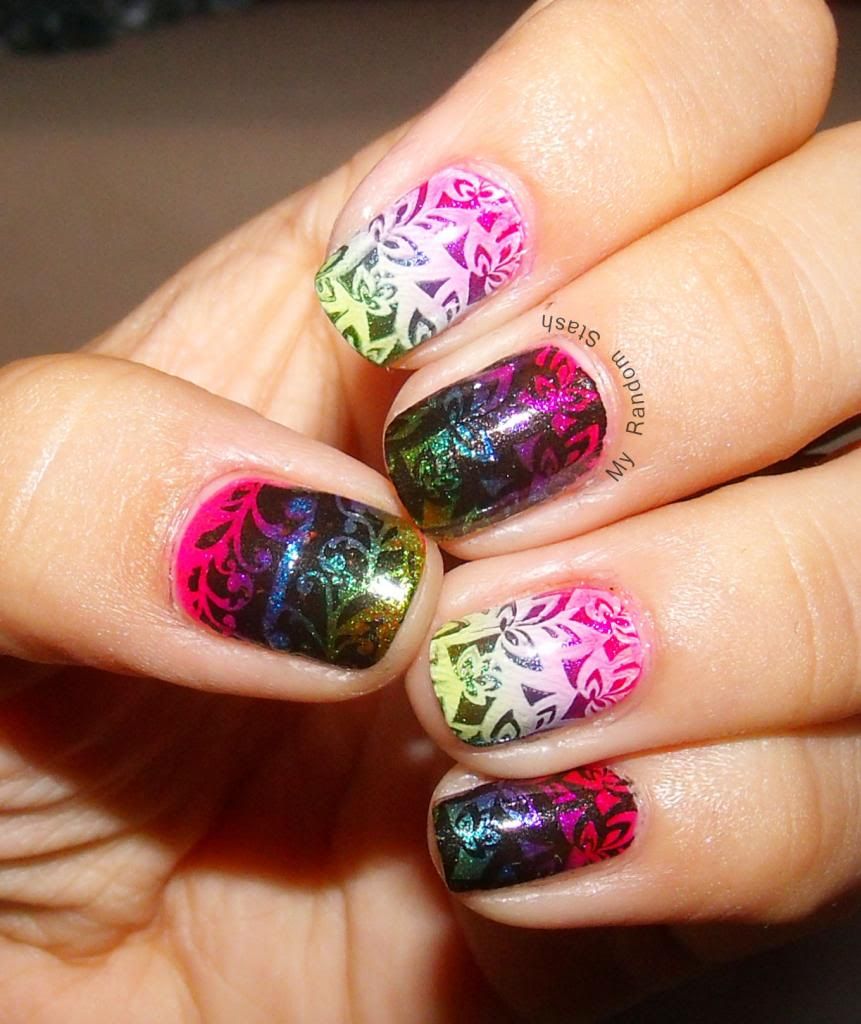
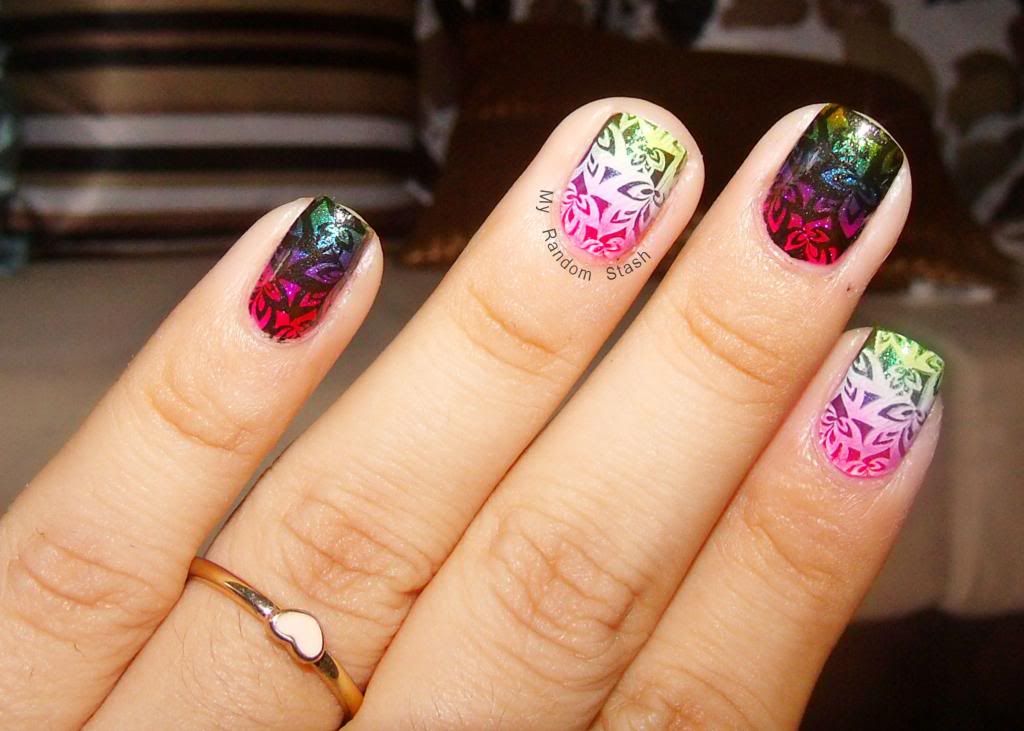
This AIS challenge was for the week before Easter, the theme was spring flowers.  To kill two birds with the same shot, I decided to stamp over a previous manicure.  In my mind, stamping with black was a good idea, and in person it look ok; but it didn't translate that way in pictures; should have stamp all nails with white.

Still, was a good experience because I got to experiment stamping with white and use different plates.
On my thumb I used a stamp image intended for french manicures, then I mirrored it to cover the entire nail.  That was kind of neat! :D


What I used:
- to see the polishes used to create the gradient click here
Sinful Colors Snow me White & Kleancolor Metallic Black [stamping]
Bundle Monster plates 205 & 218

4.16.2013

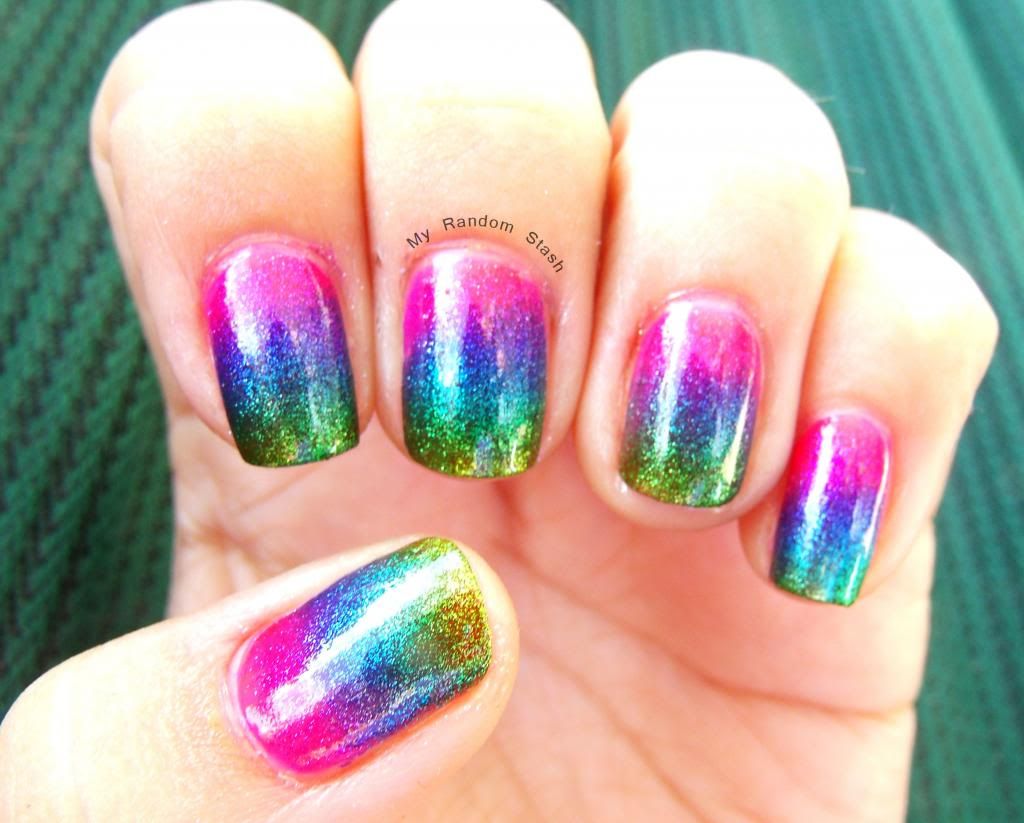
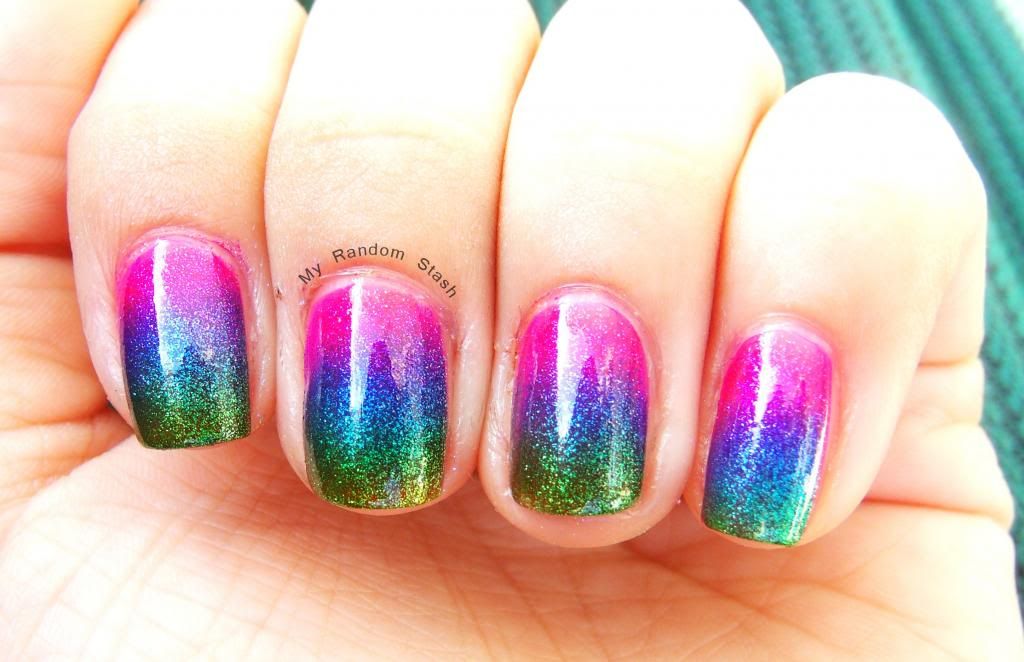
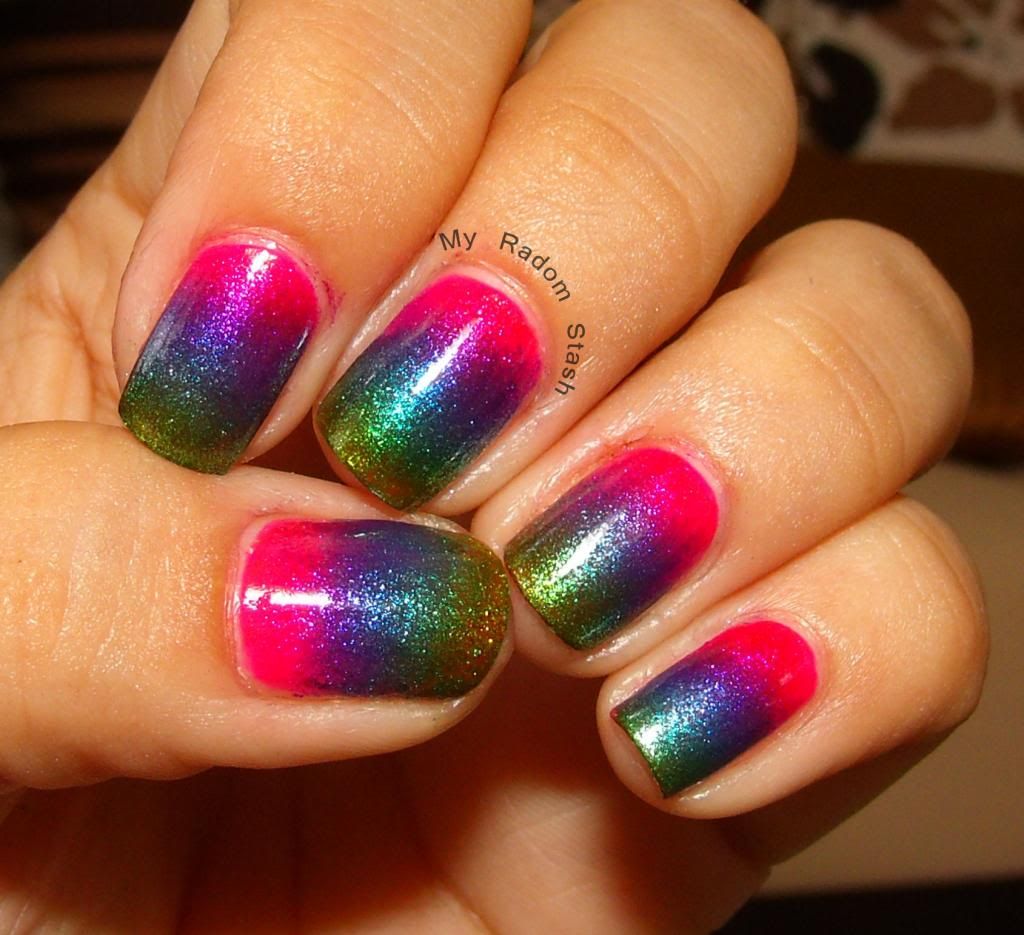
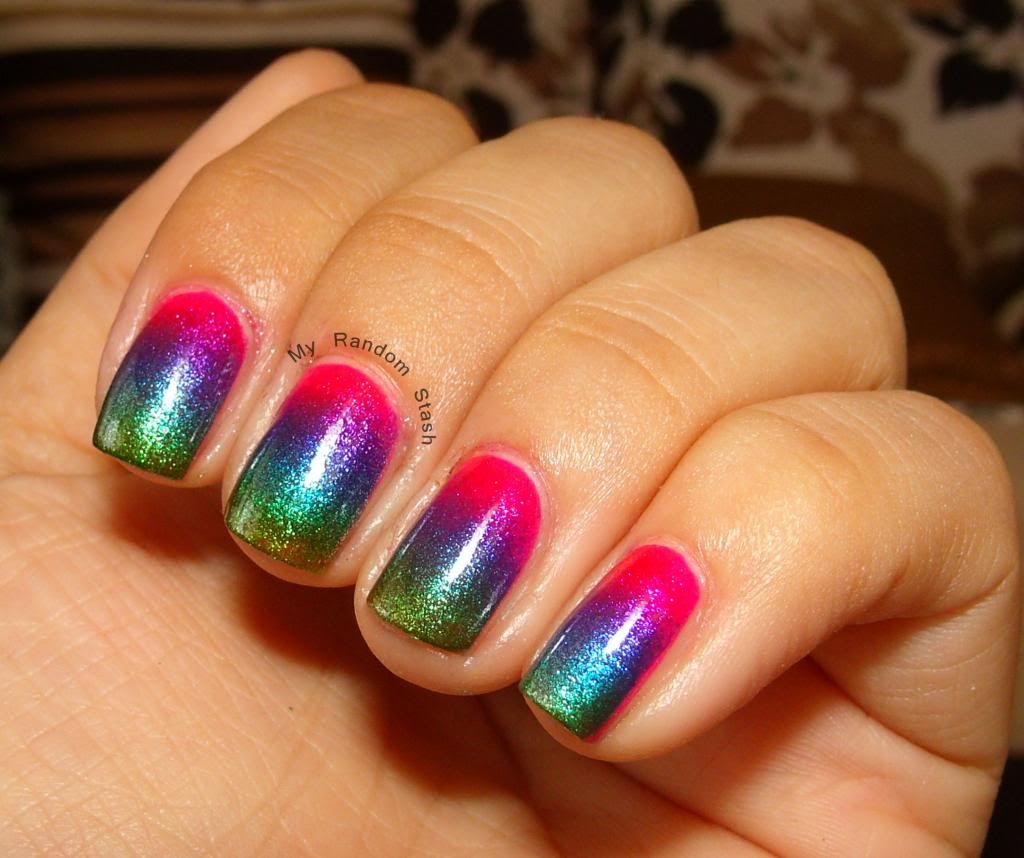
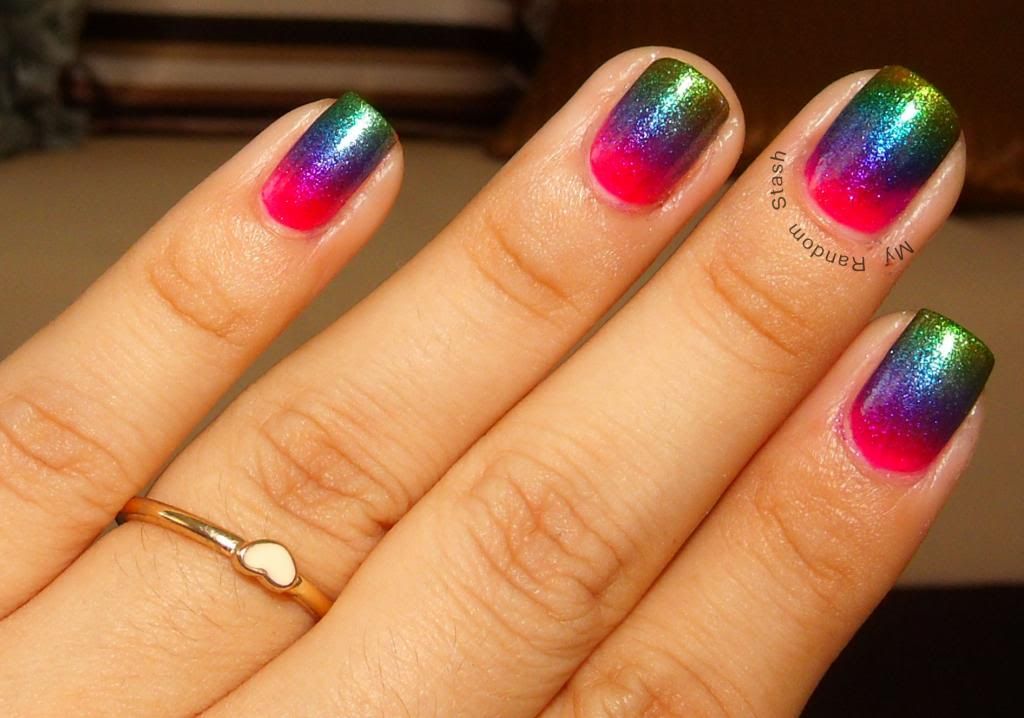
Rainbow Gradient with Kleancolor Metallics

I think gradients have become my favorite kind of manicure!

outdoor, no flash
the sun was insanely bright and hot!


indoors with flash


What I used:
Kleancolor Pink Lady (base)
Kleancolor Metallic Pink, Purple, Aqua & Green (gradient colors)

Tools:
Makeup sponge wedge

4.12.2013

My first participation on AIS challanges

I recently joined the group Adventures in Stamping on facebook.  They do a poll to choose the theme for each weeks challenge.  The challenges are posted on Sundays but during the week members can share their stamping creations or any info related to stamping.

During my first week in the group, the theme was A plate ending in 6.
I took advantage of the pink gradient I was already wearing and stamped using Bundle Monster 206 and 216.


Butterfly ring from Charlote Russe :)

4.10.2013

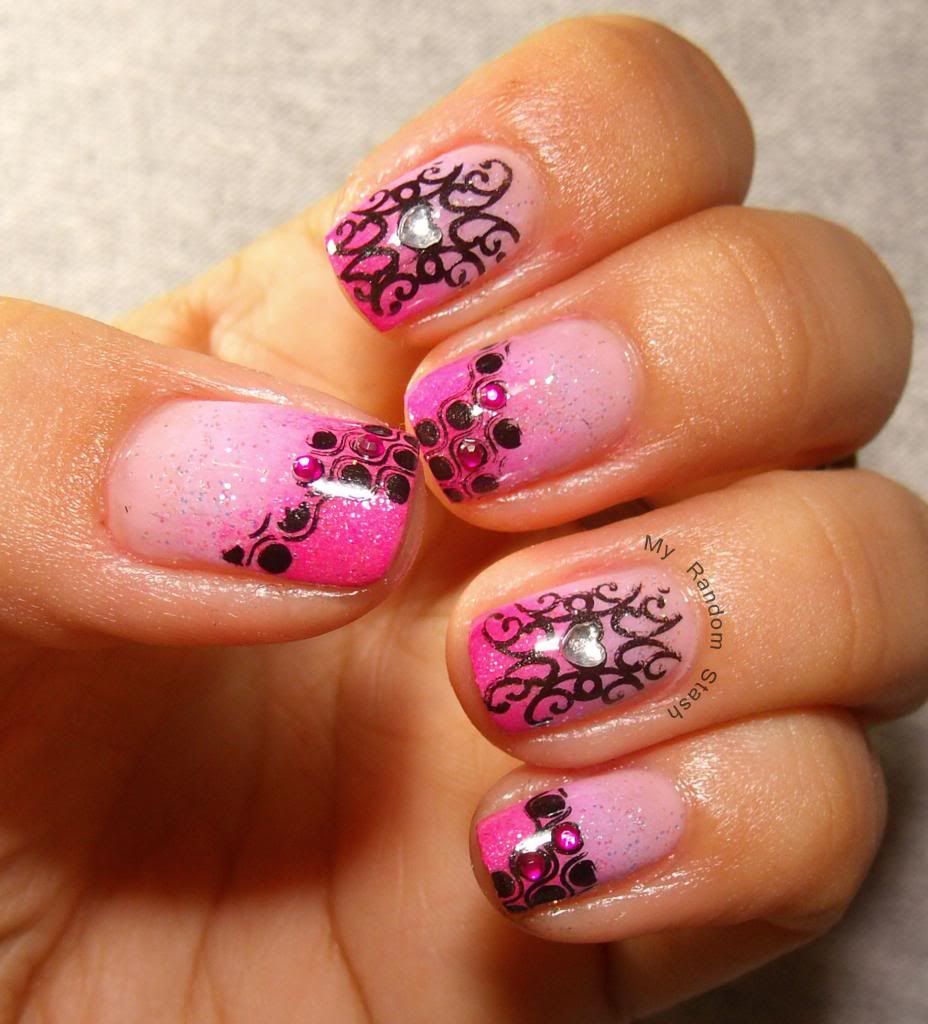
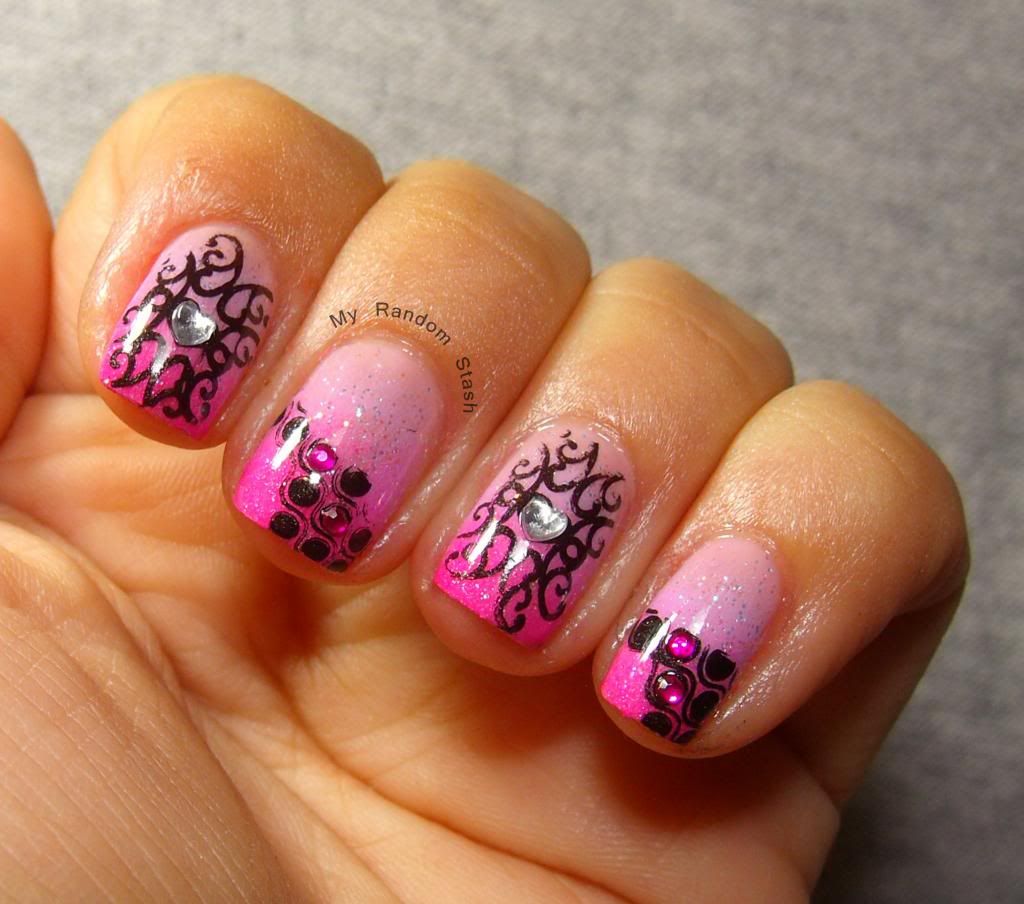
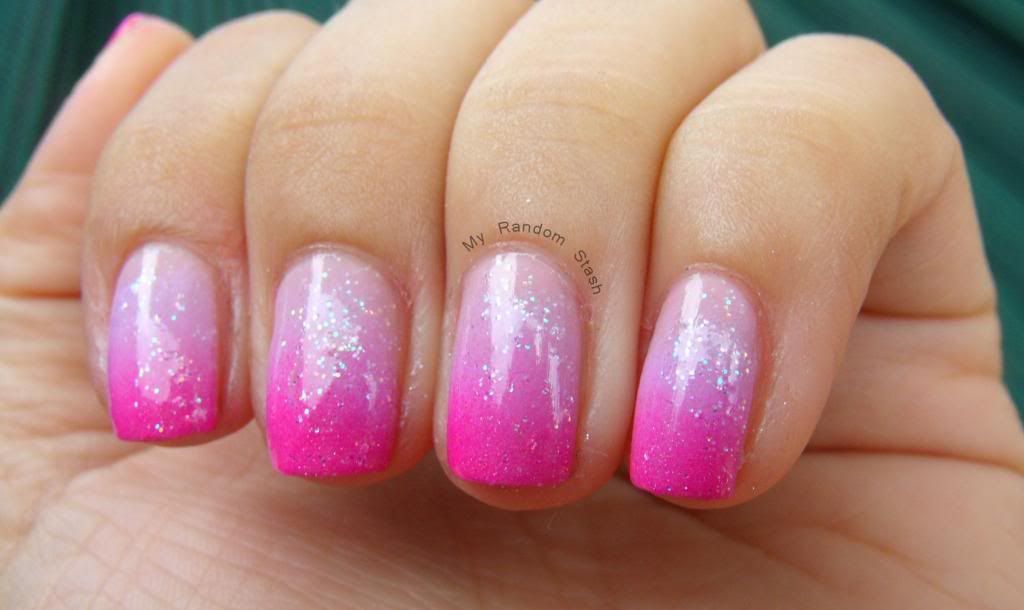
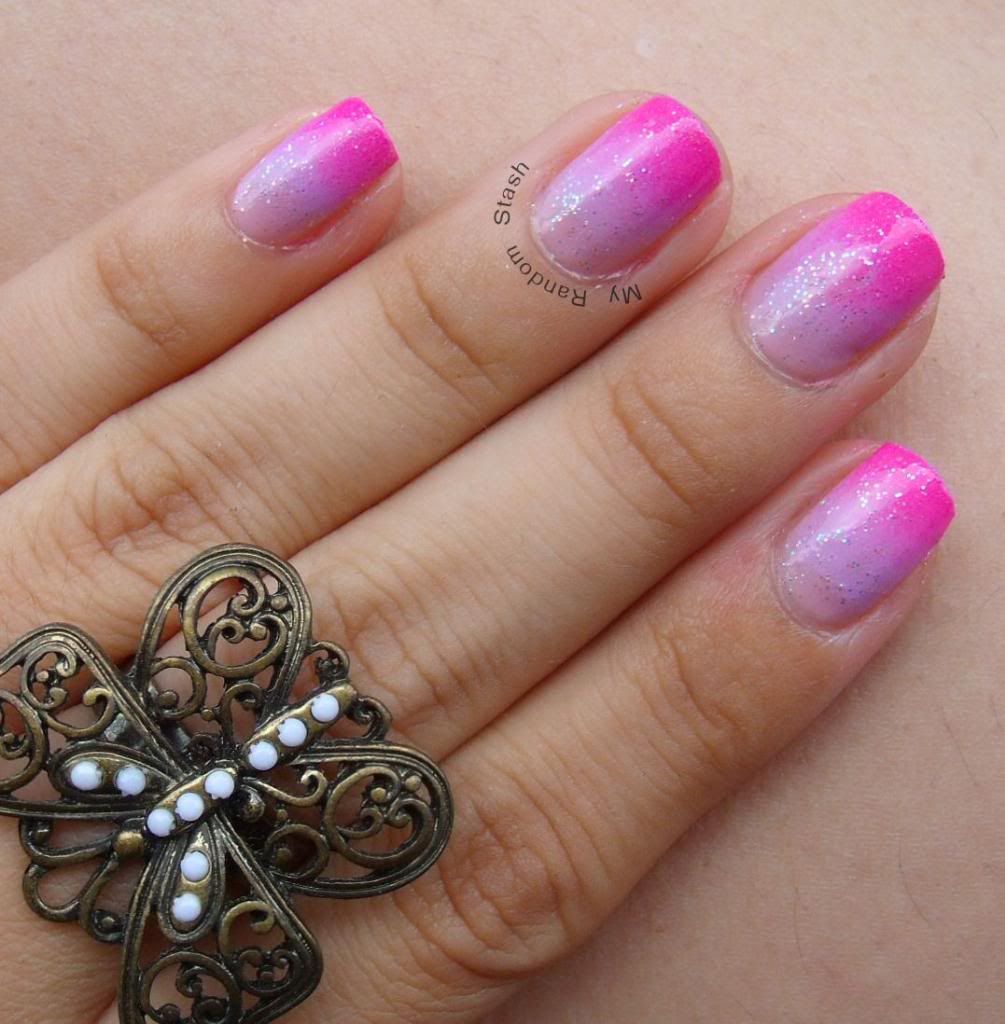
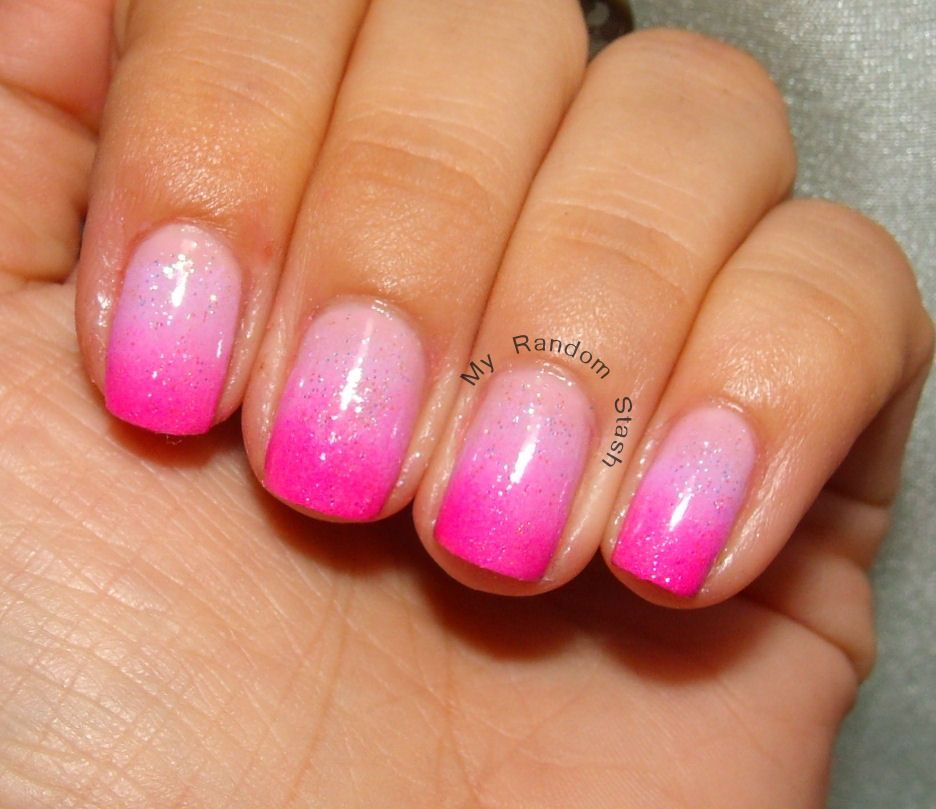
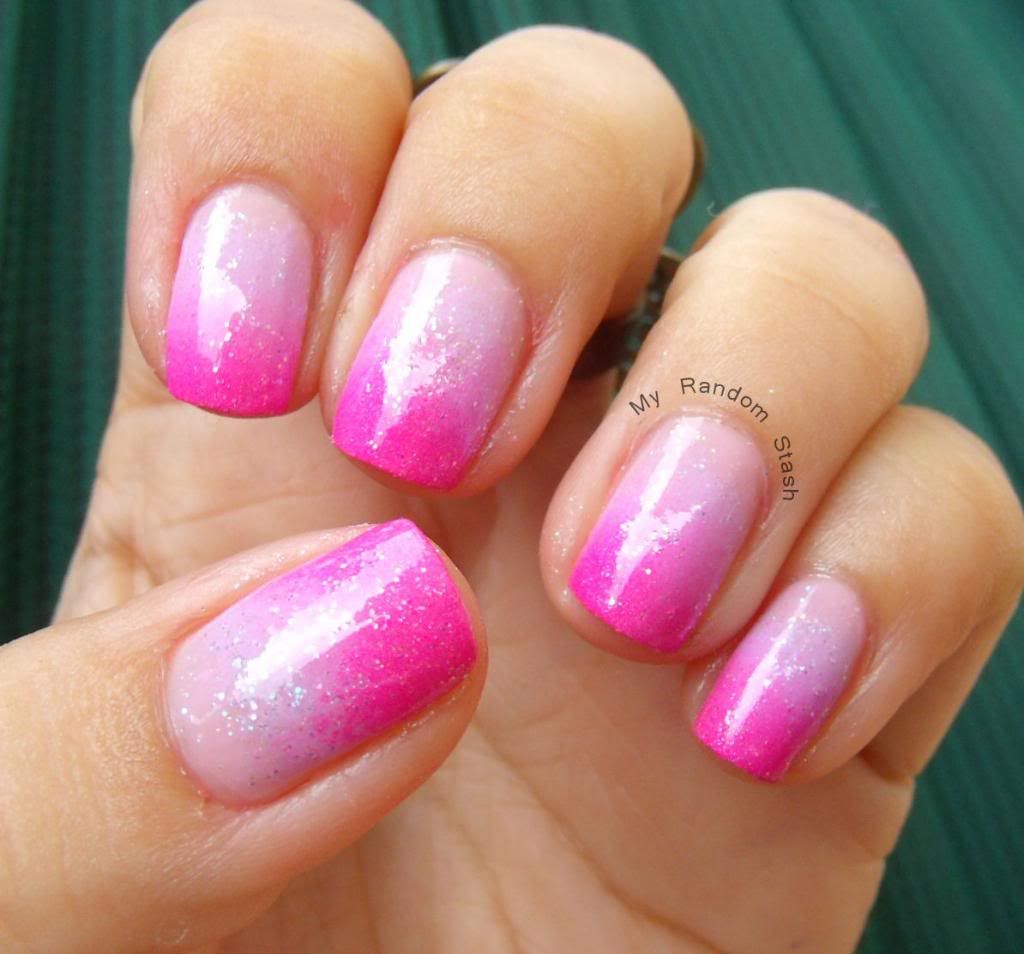
Kleancolor Pink Gradient Nails

I feel like I'm so behind on nail art trends! :(  Usually didn't try new techniques because some seem very difficult or impossible to get a decent result with my -frustrating- shaky hands. Recently I've become determined to be more adventurous and try whatever tutorial calls my attention.

In my opinion making a glitter gradient over a solid color base is easier.  With glitter you can use the nail polish own brush.  Making the solid color gradient with makeup sponges is more messy, but I learned that if you have patience, the results can be beautiful!

I'm very happy with my results :D


butterfly ring from Charlotte Russe :)

the pink really pops! on pictures taken indoors with flash

What I used:
Kleancolor Sheer Pastel Gray (base color)
Kleancolor Pastel Purple & Pink Lady (for sponging)
Wet n Wild Hallucinate 

Tools:
makeup sponge - the ones that comes in wedges

** Tips **
While you master the technique, choose a base color similar (but not the same) as the first color you are going to put into the sponge.  This way the gradient seems more seamless. 

Wet your sponge before putting nail polish on.  The chemicals on the nail polish could "eat" out synthetic sponges and therefore, leave small pieces of the sponge in your nails.  Thanks to Desi for pointing it out!

If you see some separation between the base color and the first sponging shade don't panic; topcoat usually helps blending the colors even more.

Acrylic paints are a good option for gradients because you can cleanup with water.

4.08.2013

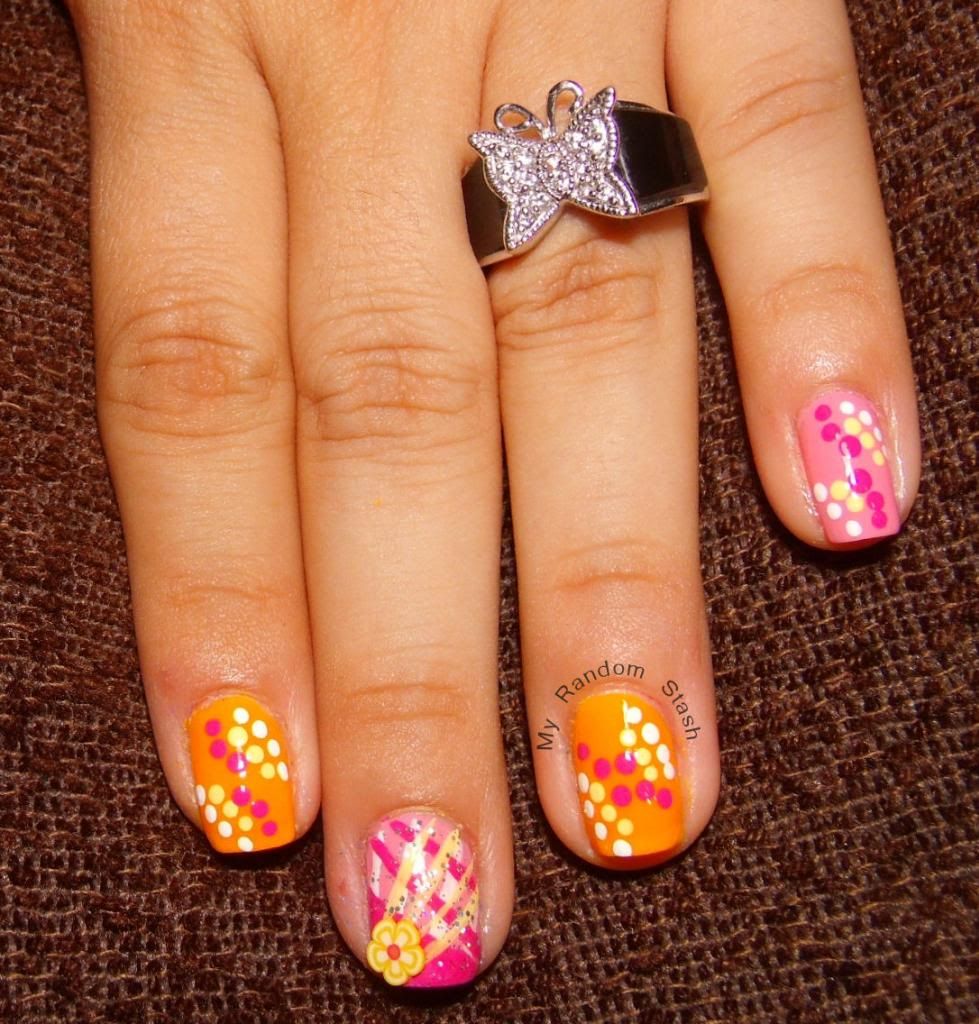
Dots, stripes and flower nail art

Initially, I wanted to replicate a YouTube tutorial on plaid nail art using the long striping brush. My lines came out horrible and in the wrong direction.  In an attempt to fix it, one crooked line became an angled french tip and that was followed by more lines, dots, glitter and a fimo flower.
When it comes to nail art, sometimes I don't know where to stop! lol


What I Used:
Sinful Colors Starfish
Color Club Psychedelic Scene
Wet n Wild Kaleidoscope
white, pink and yellow acrylic paints

tools & xtras:
dotting tool
striping brush
fimo flower

4.06.2013

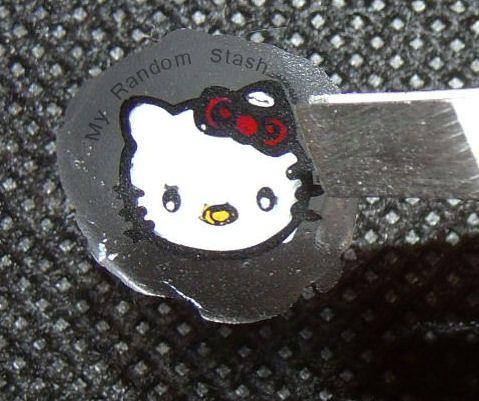
Making nail decals with stamping plates

Follow my blog with Bloglovin

Since I got a kit of acrylic paints I've been in search of nail tutorials and ideas to get them use and hopefully, improve my freehand skills.  I recently came across the Messy Mansion website and their tutorial to make nail decals with the stamping technique.

here is my first try:


This was really fun and easy to do.  If you are like me, a disaster on freehand, this techniques makes it all easier, you only need to know the basics of stamping.  To put this tutorial in practice I used a Born Pretty Store stamping plate.

4.02.2013

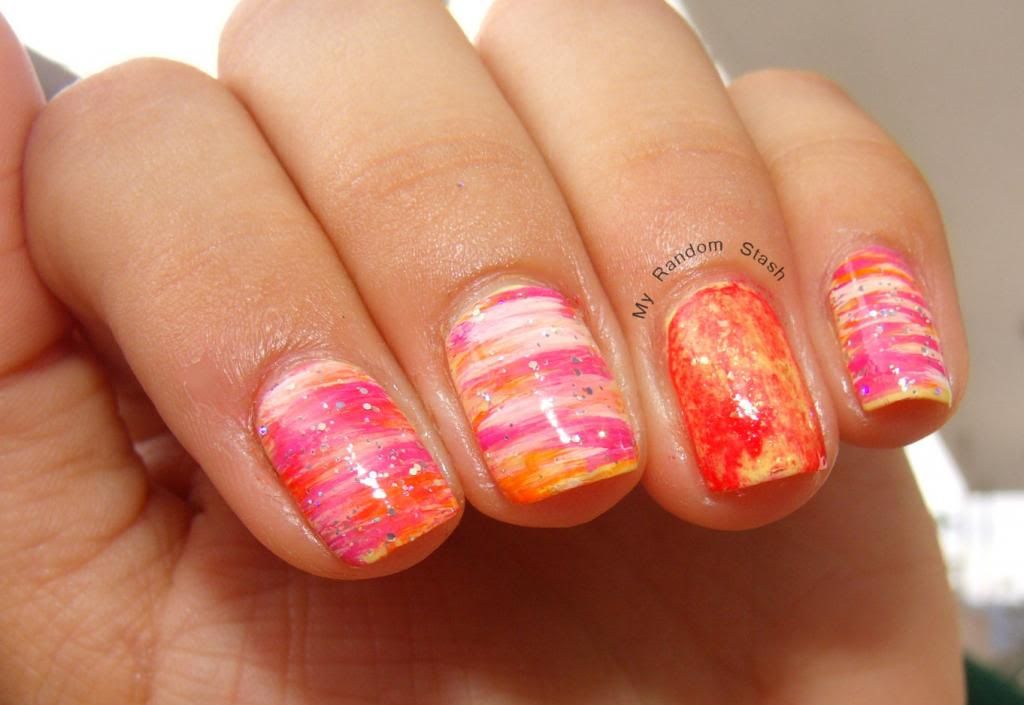
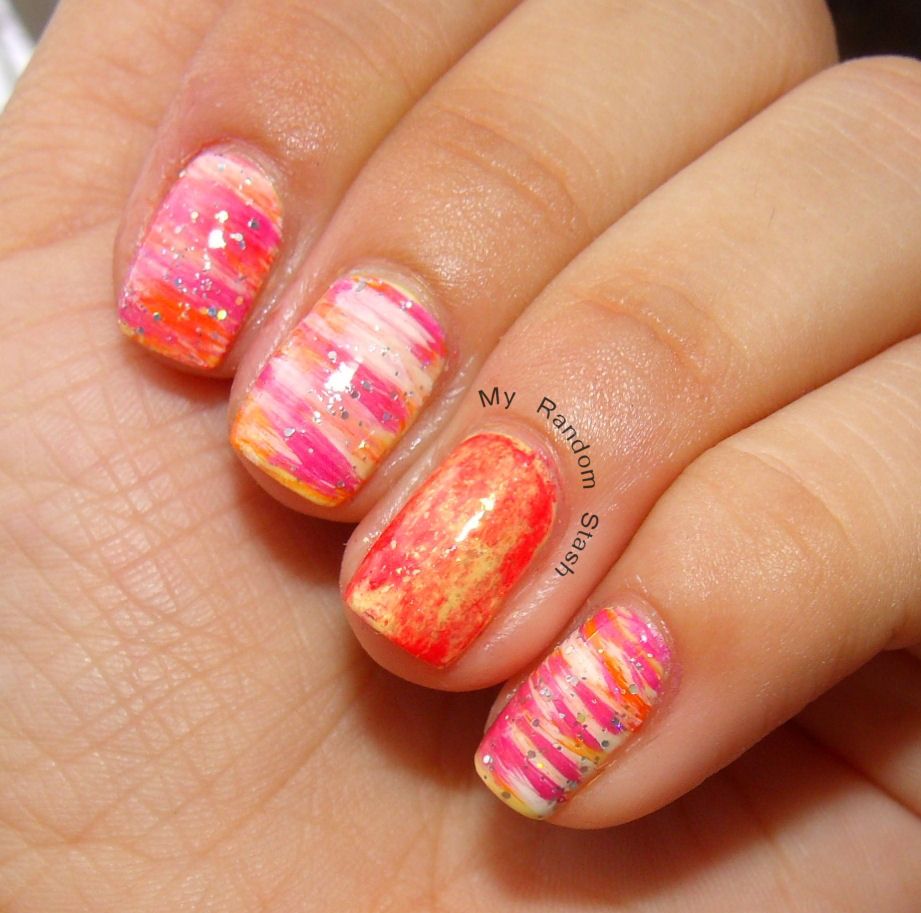
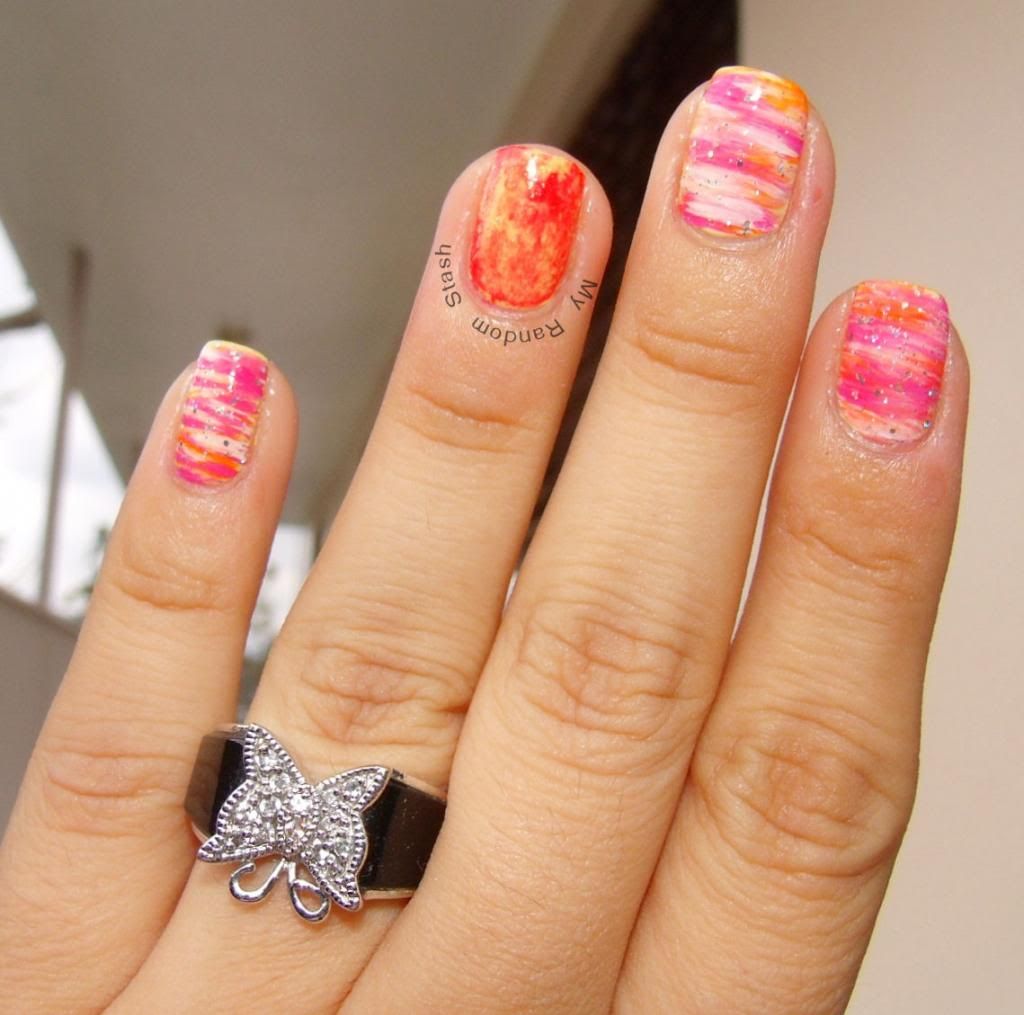
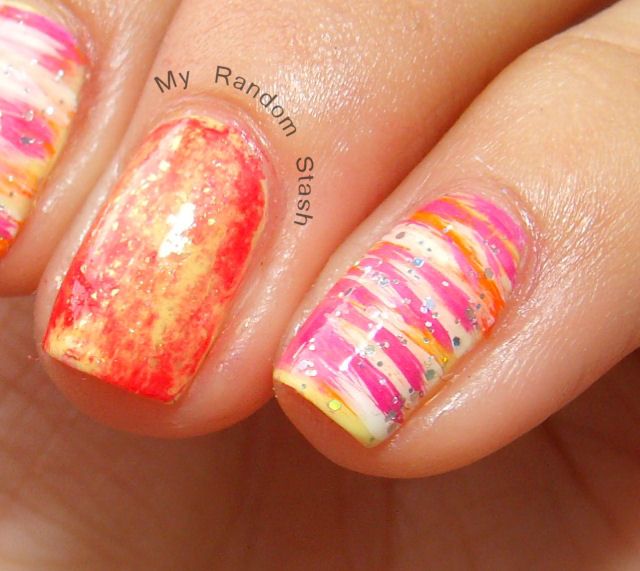
Fan brush stripes nail art

I have a small nail art brush kit and have used all of them except for the fan brush.  When used acrylic nails one of the techs would always make gorgeous flower designs over my french but never saw her (or any other tech) use the fan brush.  I was so intrigued by this cute brush that so far I've only used to apply my mud face mask!
Well, mystery solved thanks to THIS tutorial from SimpleNailArtDesigns

My result doesn't look as cool as hers, but I like it.  The colors reminds me to the Baskin Robin's ice cream called Rainbow Sherbet :)
On my ring finger I attempted the saran wrap technique for the first time.  I messed it up.Waited for it to dry, added a gold flakie topcoat an attempted again...no bueno! but well, this mishaps are part of experimenting!


What I Used:
Sinful Colors Unicorn (base color)
Sinful Colors Energetic Red (ring finger)
Essie As Gold as it Gets (ring finger)

for the striping design:
white, pink and orange acrylic paints
Wet n Wild Kaleidoscope
Related Posts Plugin for WordPress, Blogger...